

I have had quite a few people inquire about my raised vegetable gardens. I wanted to share with you how and what I used when I originally built them in 2014, along with things I would do different now.
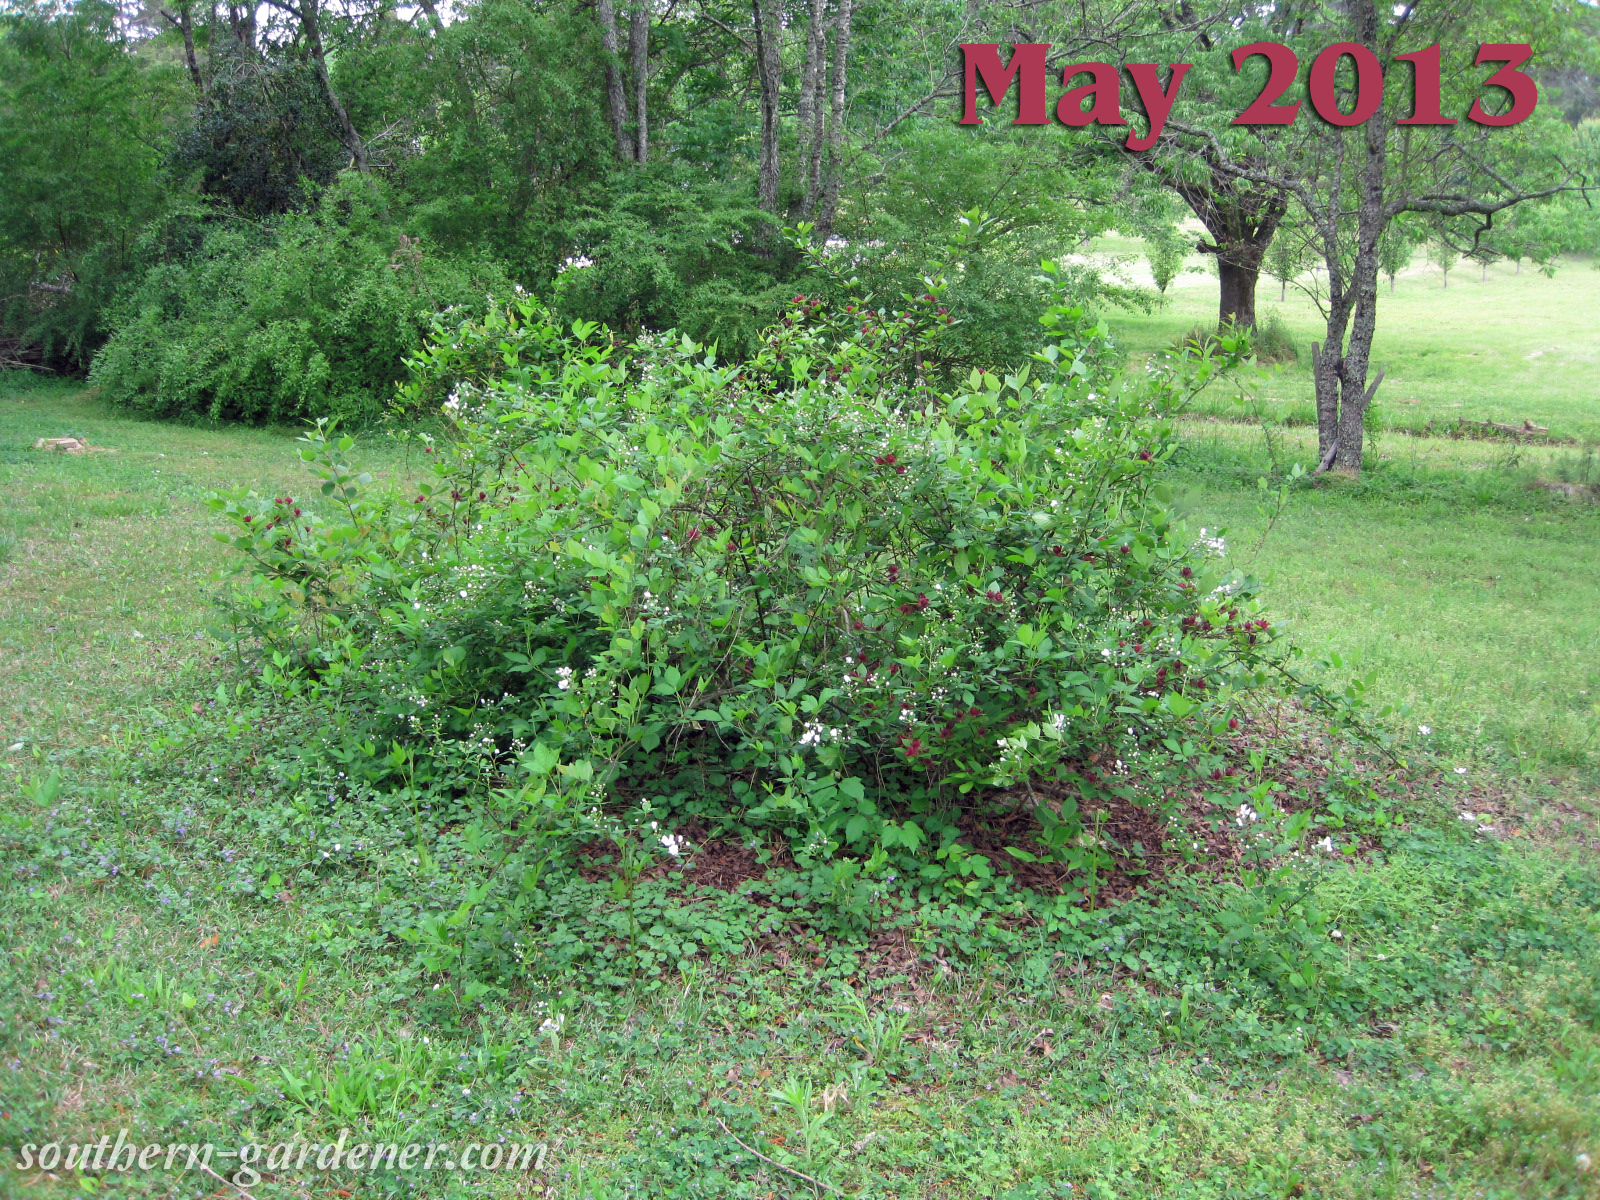
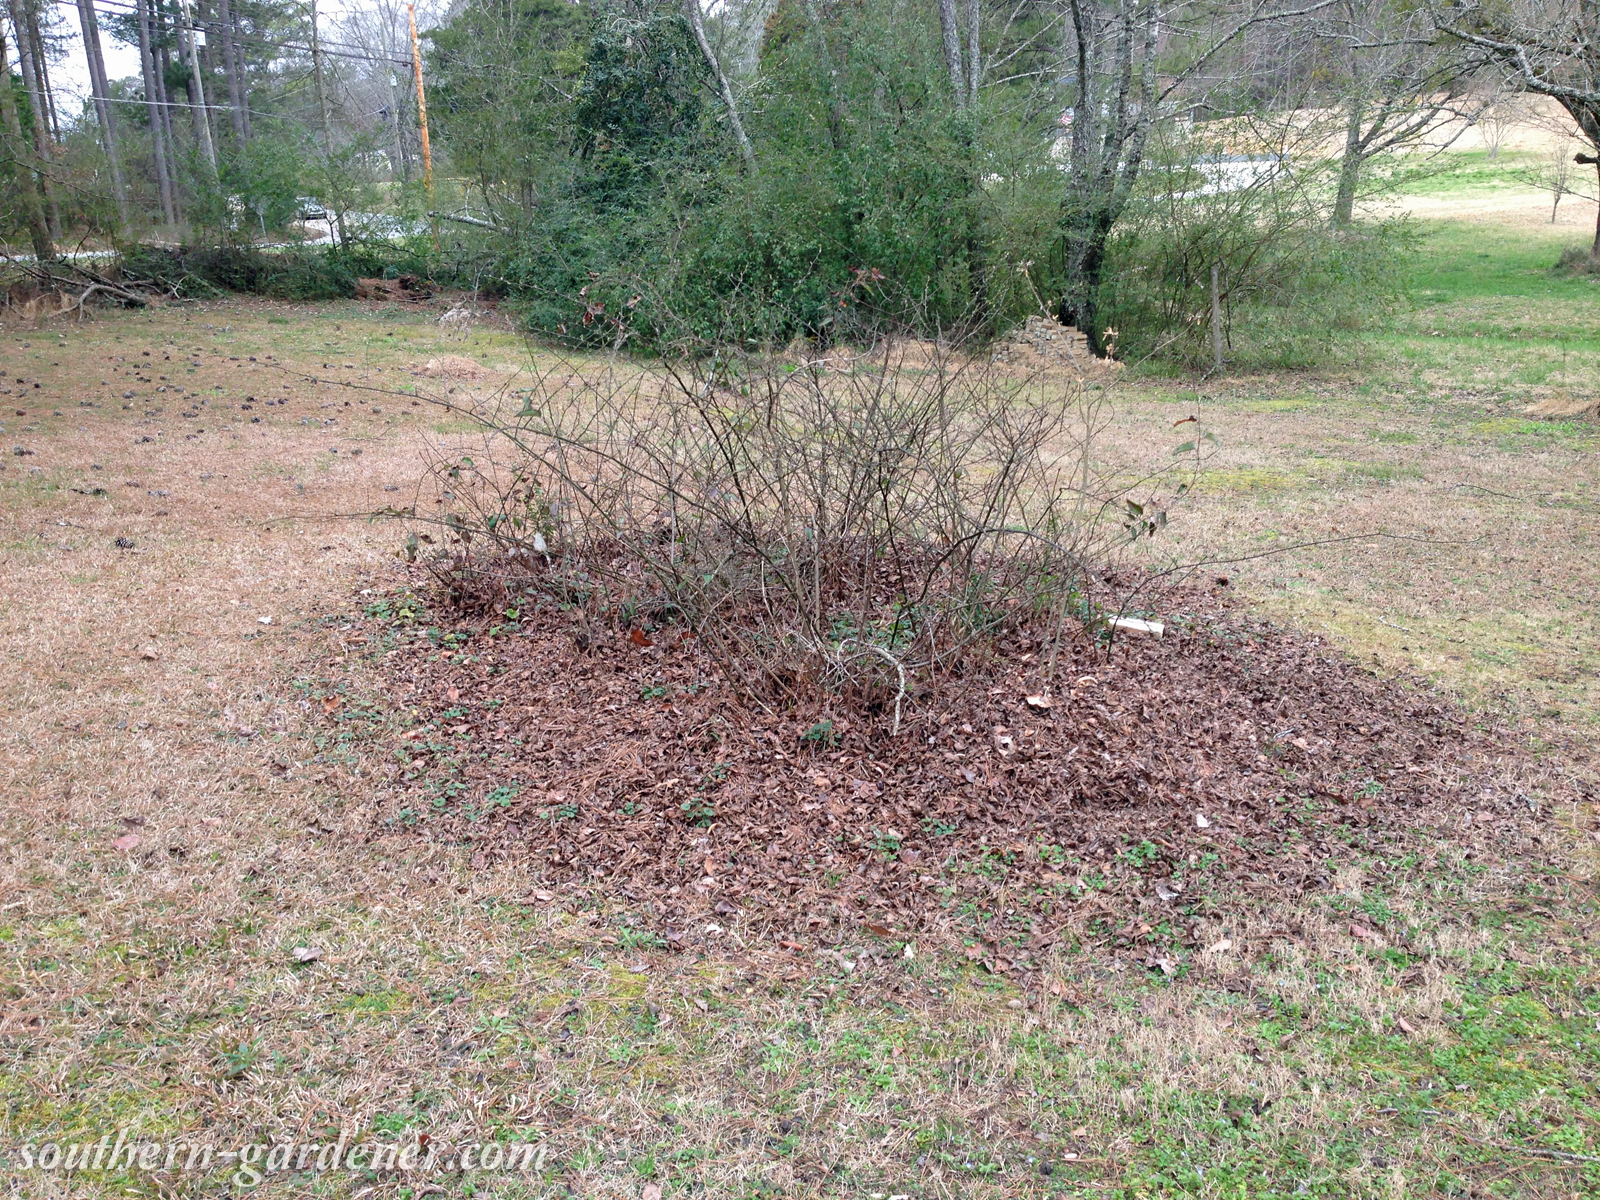
The location of these garden beds was picked because of the hot mess this area turned into during the summer. There were sweet shrubs, blackberry vines, and a multitude of weeds growing in this one area in the middle of our back yard.
These were built with treated lumber. I know there is a huge debate as to whether or not you should use treated wood for a vegetable garden, but I did research and found today’s treated lumber does not contain CCA (chromated copper arsenate), so it does not leach arsenic into the soil. I’m sure there’s still plenty of debate over the safety of today’s treated lumber, but at the time I built these, it was treated lumber or cedar, and I simply couldn’t afford to do the beds out of cedar.
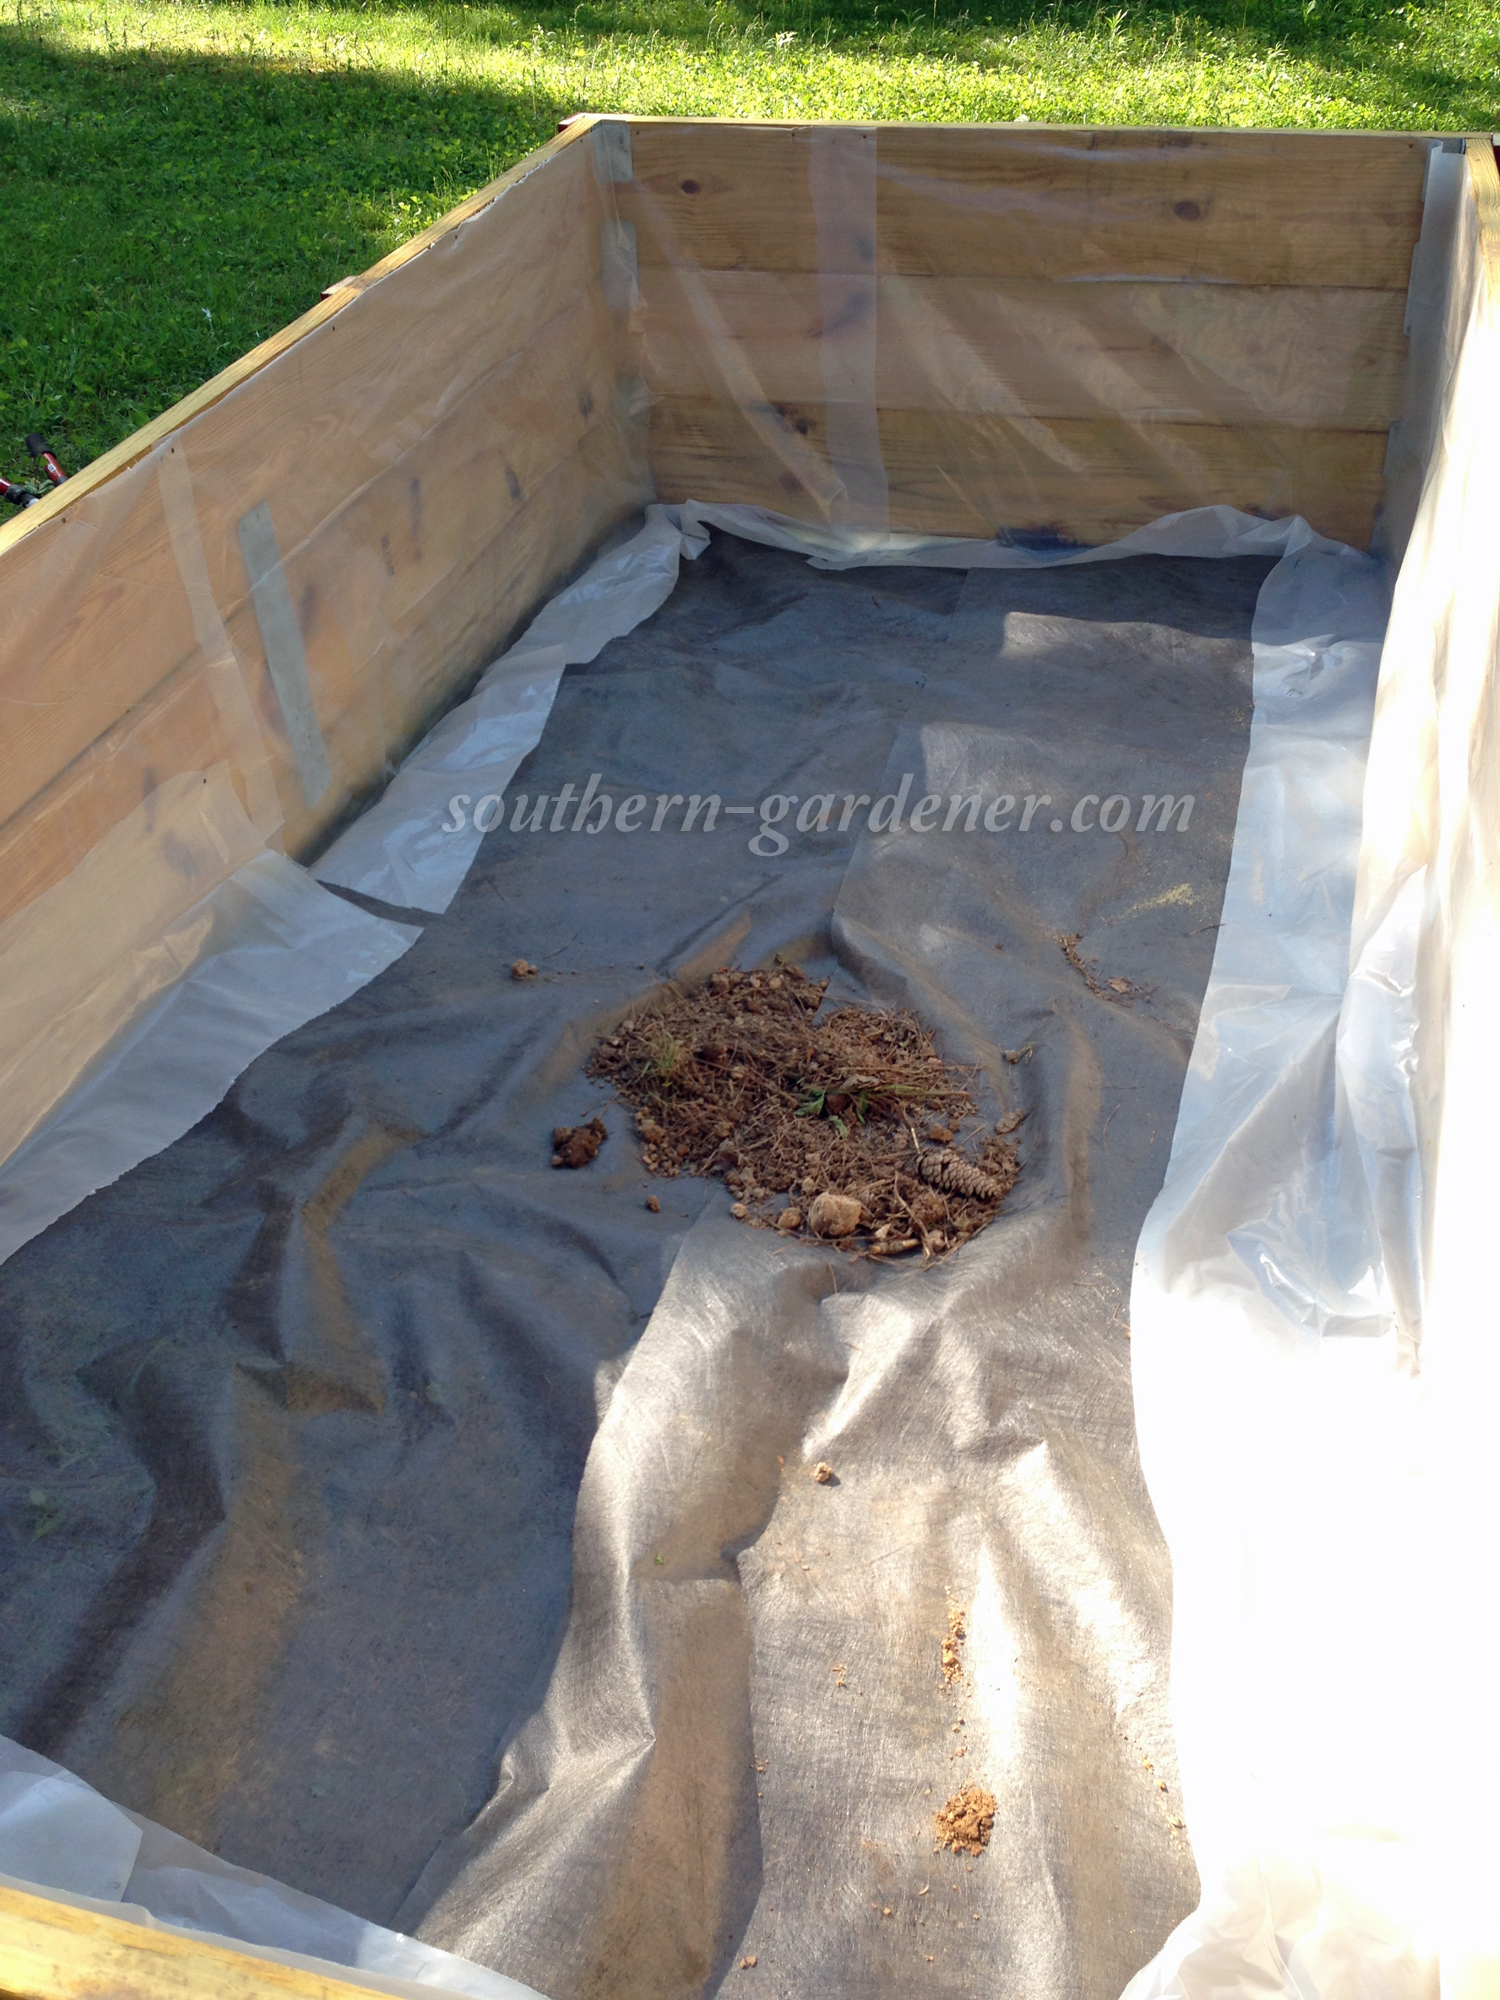
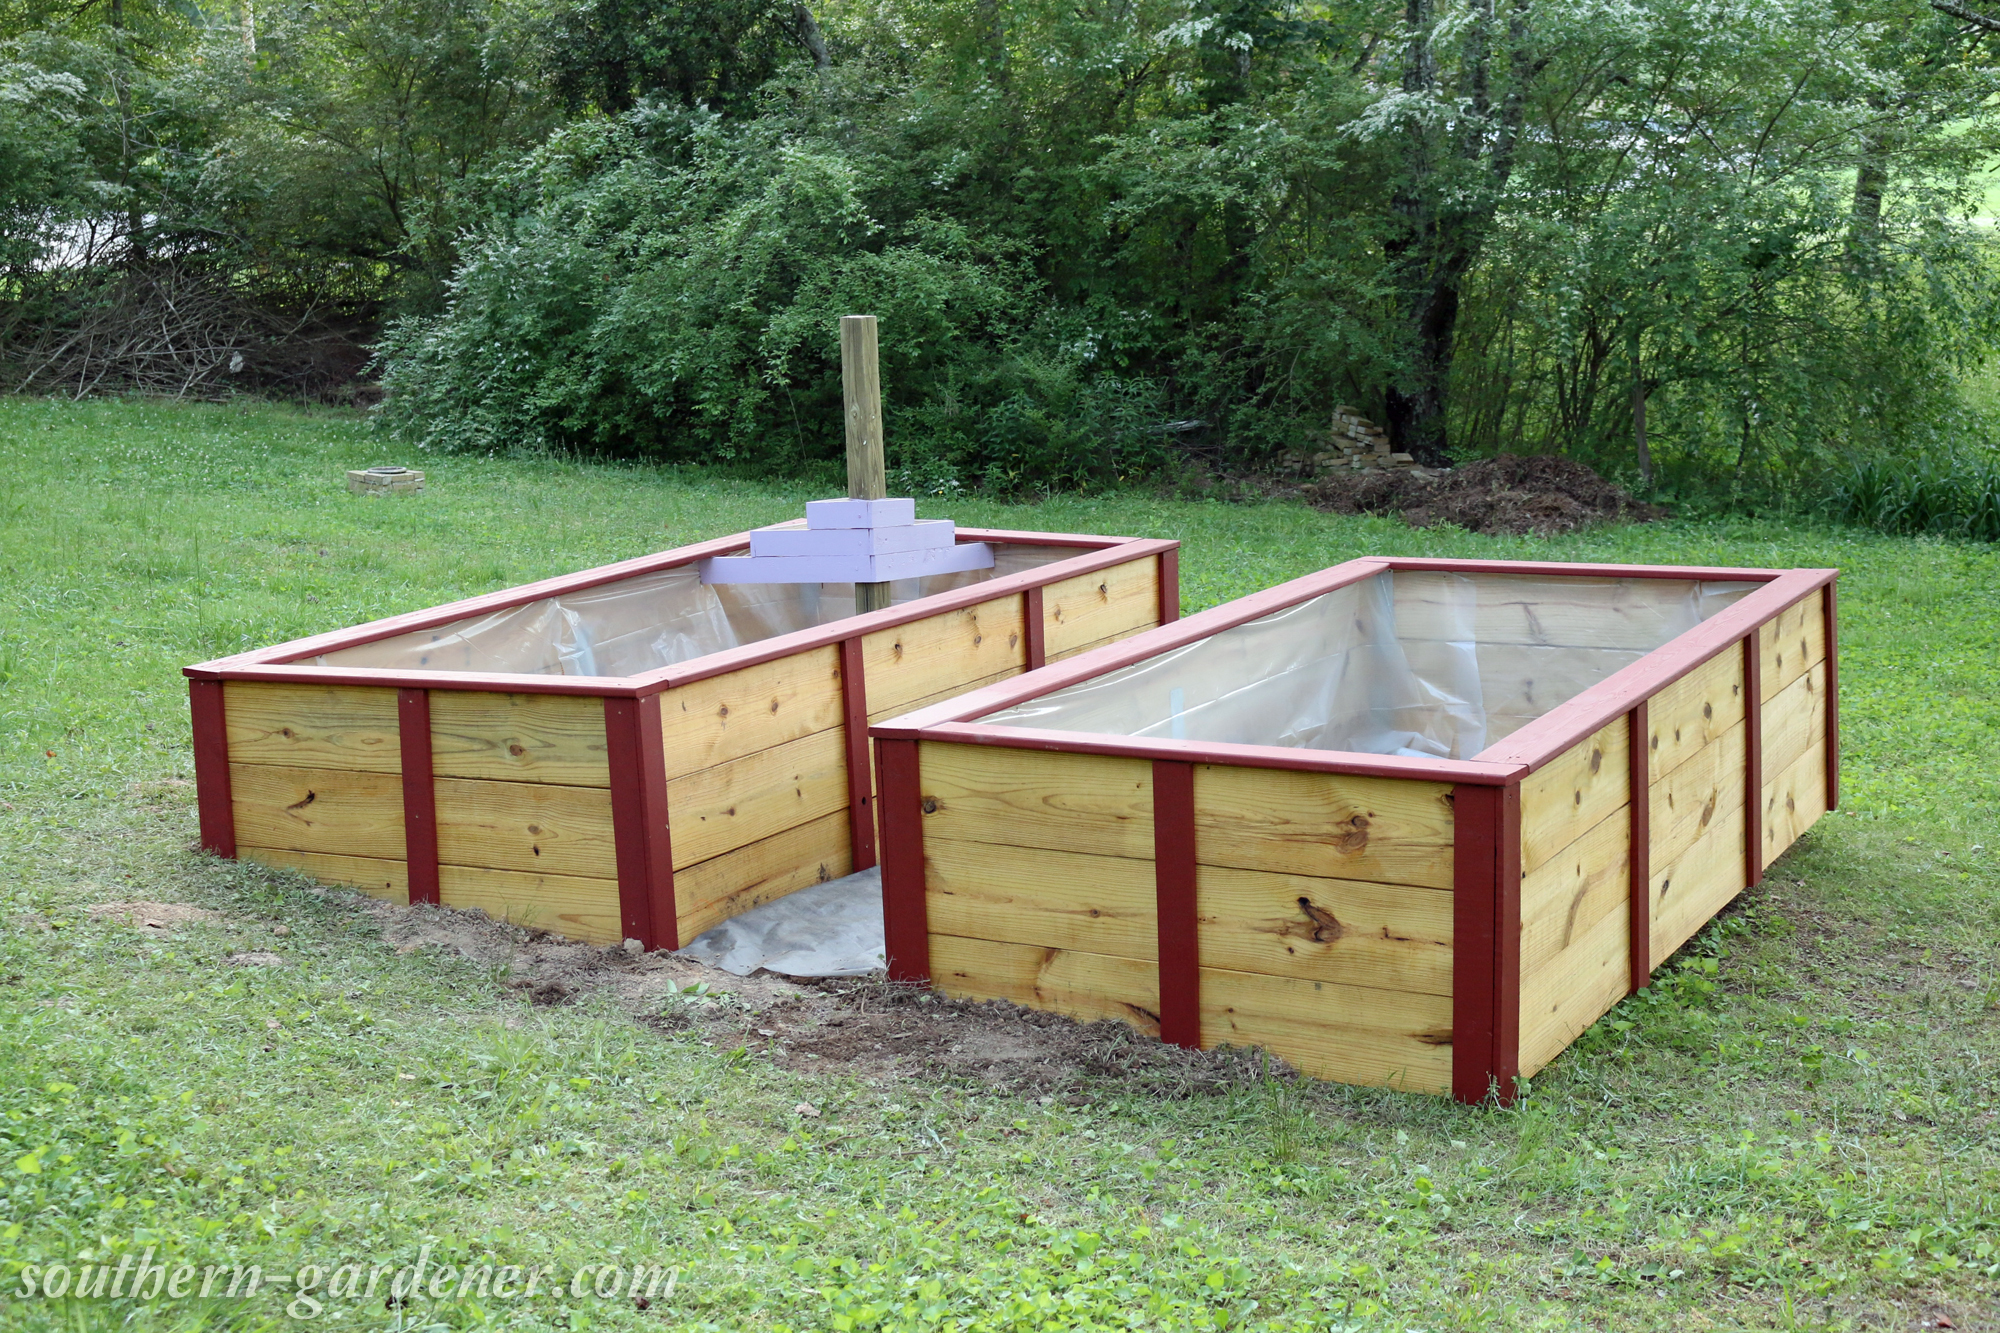
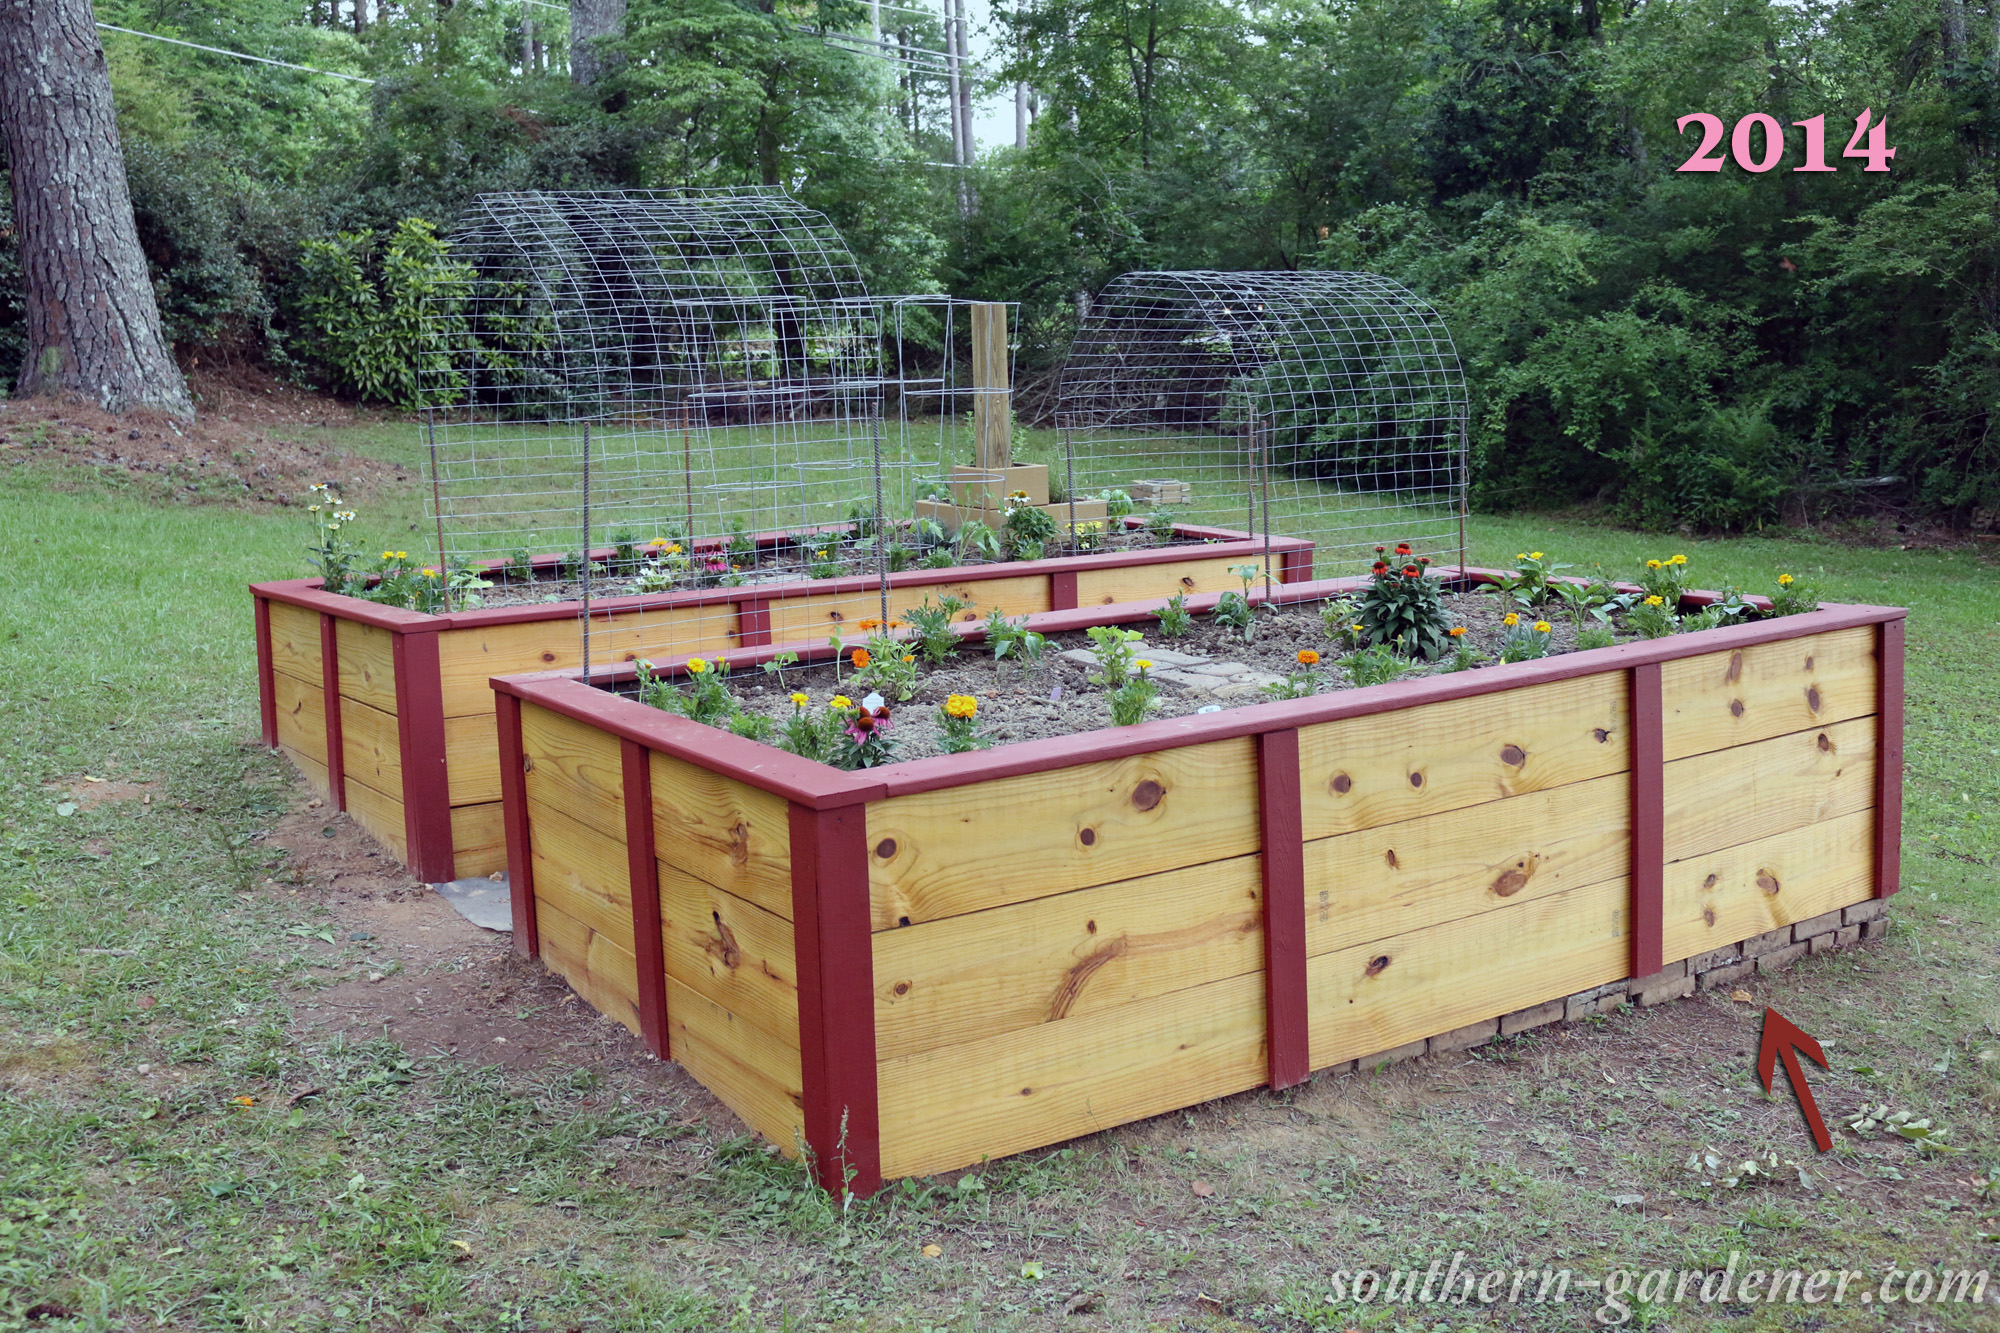
For the original construction, I used 2″ x 10″ boards stacked 3 high. The outside dimensions are 5 feet x 10 feet x 27¾” high for each bed. I don’t know what the price was for the wood back in 2014, but for one garden bed now, it would take 9 boards @ 2″ x 10″ x 10′ for the lumber, which is $85 before tax. I would like to note that this is the first thing I ever built or really even used a drill for, so I was super new to how things should be done (hence the post being about what I would do differently 😆 ). I used heavy duty metal corner brackets and nothing else to assemble these beds. I should have used a 4×4 post in each corner and screwed the boards in that way, but I didn’t have anything to cut through 4×4 posts at the time (just a jig saw that sucked). Once the beds were in place, I lined the bottom with a {crappy} weed fabric, and I lined the inside boards with plastic because I still wasn’t thrilled about the idea of it being treated lumber.
I used a clear sealant on the outside boards to help preserve it. I painted the top trim and side trim pieces with a solid exterior stain by Olympic. The purple boards and 4×4 post is where I decided (at the time) to have my herb corner, but I’ve already done away with that.
And then it came time to fill it with dirt… One wheelbarrow at a time since my boyfriend didn’t want a dump truck driving in our yard. 🙄

This is the condensed version of the original construction. If you have any other questions, please feel free to email me!
Things I Would Do Differently
- Building Material
- Square Foot Sizing & Layouts
- Height of Raised Garden Beds
- Top and Side Trimming
- Leveling of Beds
- Weed Fabric
- Dirt
-
Building Material
First and foremost, I would not use treated lumber. If I were to buy the 2×10’s for both beds today and the corner braces I think I used for constructing the basic boxes of my raised beds, it would be around $207 without tax. That’s not counting the screws I used, the long straight braces I wound up adding on the longer sides on the inside of each bed (because I can’t find them on the website to price them now), the top and side trim pieces to make it look nice, the weed fabric I used, the dirt, or the plastic lining the beds. Since building these, I have discovered cedar picket fence wood, which I used last year for my cantaloupe bed. The best part? They’re only $2.88 per 6-foot board (at my local store, as of the day of this posting), and it’s non-treated cedar! I hate having to buy treated wood because I am usually going to the local big box store by myself, and that stuff is so heavy and usually still too wet to work with immediately.
-
Total Square Foot Sizing and Layouts
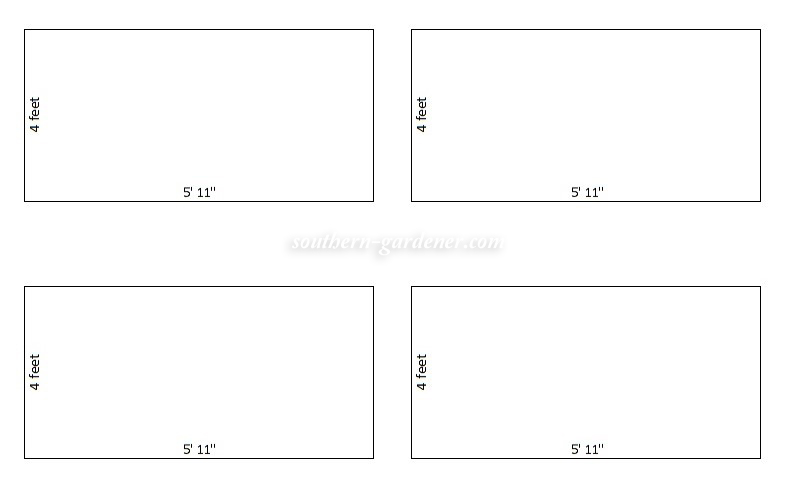
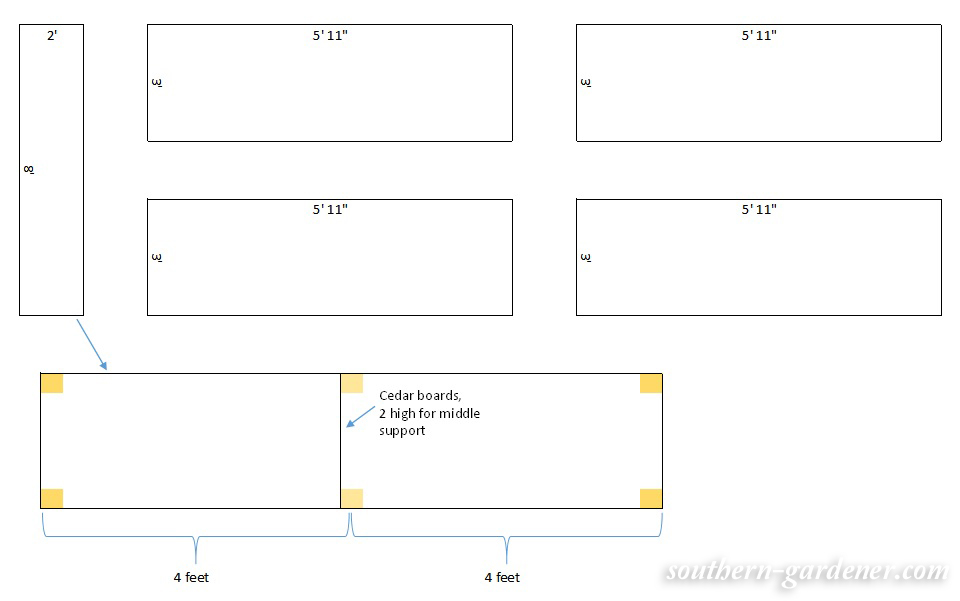
I doodled this part on paper (and in Excel) many times, trying to come up with the layout that would give me the most bang for my buck. I was originally going to go with just 4 beds that were 4 feet by 5′ 11″ and 3 boards high. The cedar picket boards would have to have 1″ taken off because of the dog-ears, so that’s why it’s not an even 6′ on the longest side.
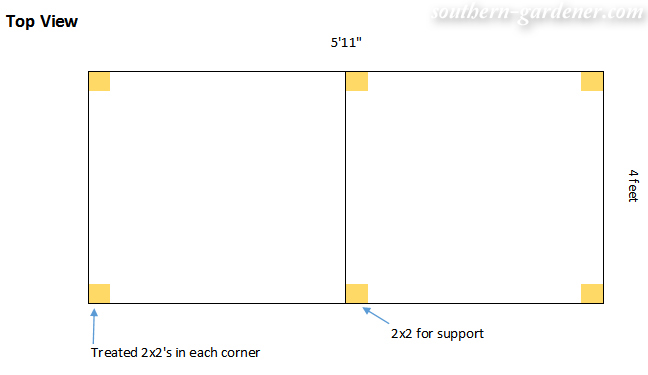
Each bed would have to have 6 pieces of treated 2×2 cut to 15″ in length, for attaching the corners together (instead of the metal corner brackets I originally used), and in the middle of the longer sides to attach cedar picket boards across (just 2 boards high) to prevent bowing out of the beds (more on this in a minute).
However, doing it this way gives me WAY too much scrap wood once I’m finished. I would have 32 pieces that are just a hair under 2′ long, according to my CutList program.
The above way would cost $176 before tax, giving me 96 squares for planting. My current 2-bed layout provides 100 square feet, though I am only able to utilize 72 square feet for planting because of the wide top trim pieces. This way gives me 24 more square feet to use, costing me $30 less for the basic construction, but it gives me way too much scrap wood.
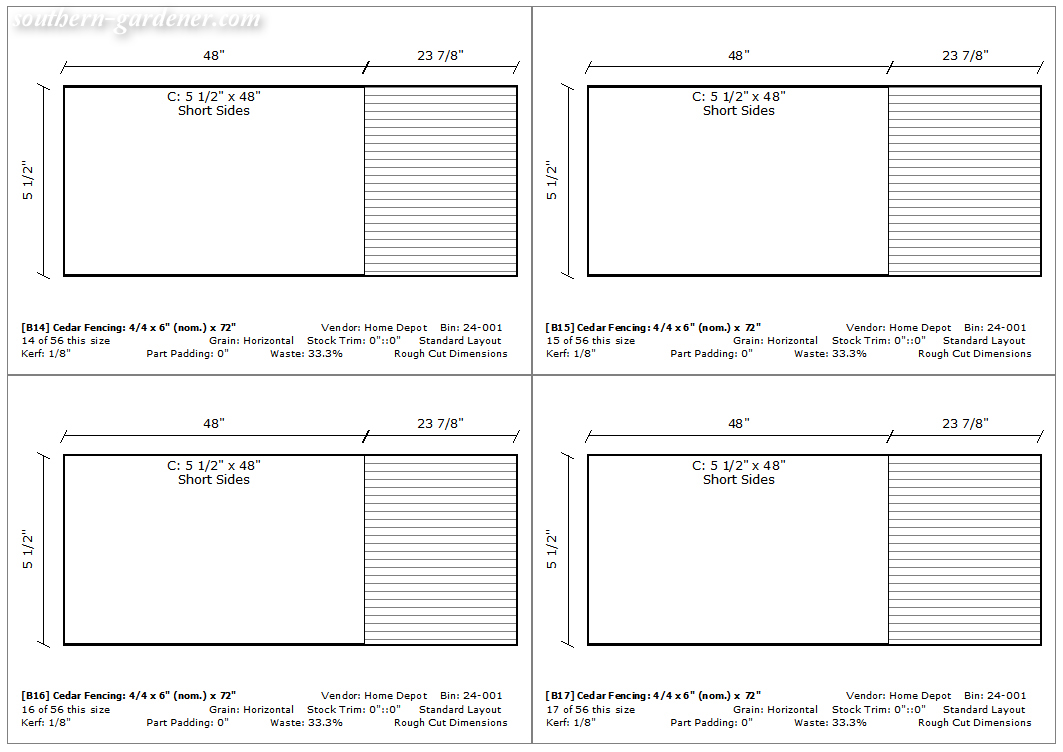
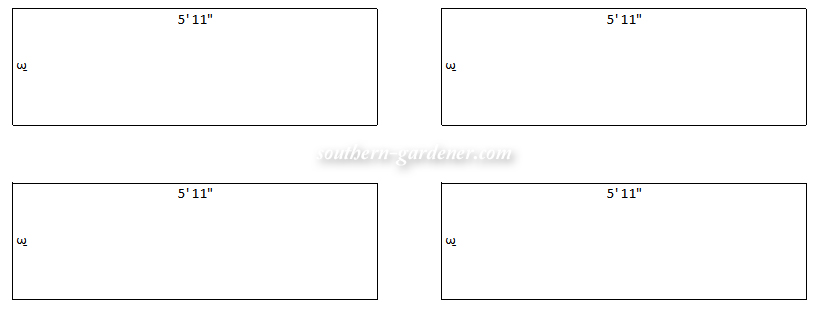
So I recalculated and decided to take the 71″ of usable space (1″ gone because of dog-ears) and just cut that in half, making that board 35.5″. Once put in between the other boards to create a box, overall width would be 36.5″ since the cedar picket boards are about 1/2″ thick.
Doing it the above way cuts my costs down to $130 before tax, the scrap wood left over is very minimal, and it gives me 72 square feet for planting. That’s the same amount of planting space I currently have that would cost $207, and I don’t have to line the inside with plastic. Also, cedar wood is much lighter than pine (treated or non-treated), so carrying one of these finished boxes (minus trim) could be done by myself! It took 4 of us and a hand-truck to move one of my original beds into place (since I wasn’t thinking I should probably build it where I needed it to be 🙄 ).
Of course at this point, I would want some more planting space (you can never have enough, right 😆 ), so I calculated a 5th bed at one end, spanning 8 feet across. I essentially would need to create this using 2 4-foot boards attached to one of the 15″ 2×2 pieces. This bed is just 2′ x 8′.
This give me 88 square feet for planting, costing $168 before tax. That’s still $39 cheaper than the way I originally did it, and it gives me 16 more squares for planting.
-
Height of Raised Garden Beds
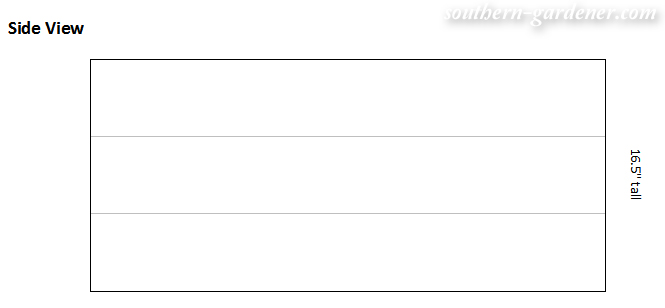
The height of my current beds has it’s advantages. I’ve never seen a rabbit in them, and it makes pulling weeds and working a little easier on the back, though not as much as you might think. 😕 The height of the beds also has its drawbacks – like trying to reach tall plants for harvesting. I could get away with doing 2 cedar picket boards high (total height of 11″), but I would rather make it 3 high, putting it at 16½” tall. This is the height I used when calculating all of the previous new layouts in the above section.
-
Top and side trimming.
I would forgo the top trim pieces if I was re-doing these. As much as I love the look, they get in the way of possibly covering the beds using PVC and plastic for an extending growing seasoning. They also cut my usable space down from 100 square feet for planting (both beds combined) to 72 square feet. I would still do the side trim pieces because, while it will add to the look, it will also help with keeping the cedar picket boards aligned.
-
Leveling the Beds
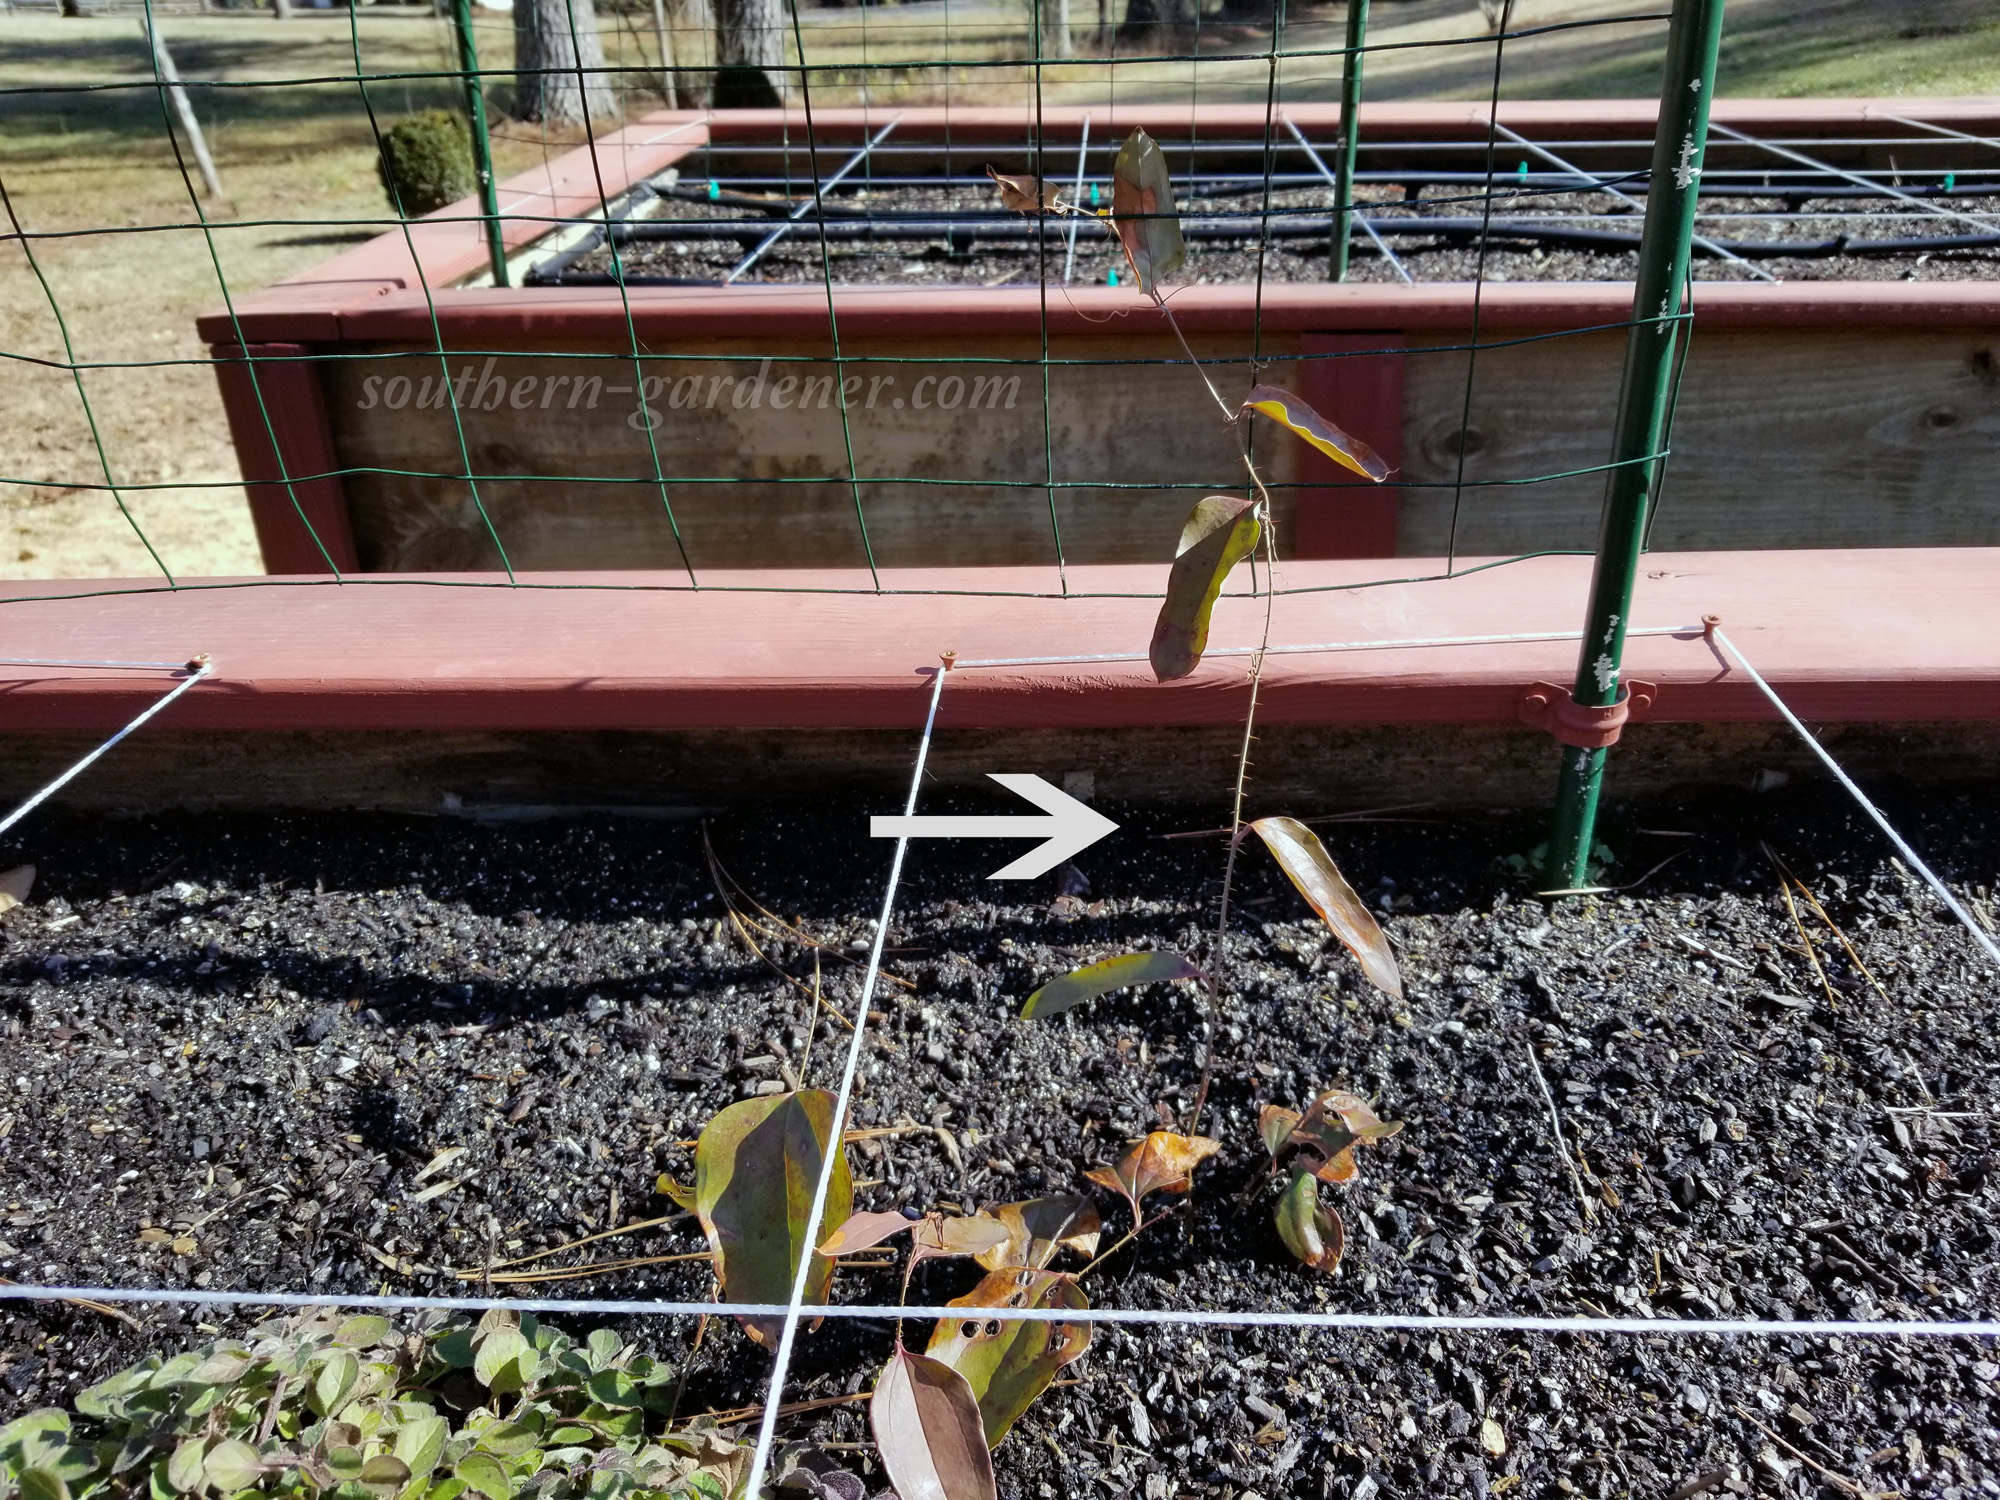
As I mentioned, this was the first thing I actually built (with help). I really didn’t even know how to use a drill up until this point (my how things have changed!). I wish I had dug down and leveled out the right garden bed so the box sat on the ground at all corners. What the heck was I thinking?! My cousin and I were both feeling lazy about having to dig and level this bed, so we used used bricks left behind by the previous homeowners to “level out” one corner. In our defense, there are a lot of big roots and rocks (chert-like dirt), so it was not an easy task to begin with, but still. What the heck was I thinking? 😆 😐
Not to mention, we had nothing in the middle of the beds to hold in the longer sides to keep them from bowing. I had suggested running 2×10 boards across with width of the bed in the center to help with support, but my cousin didn’t think it was necessary. Wrong.
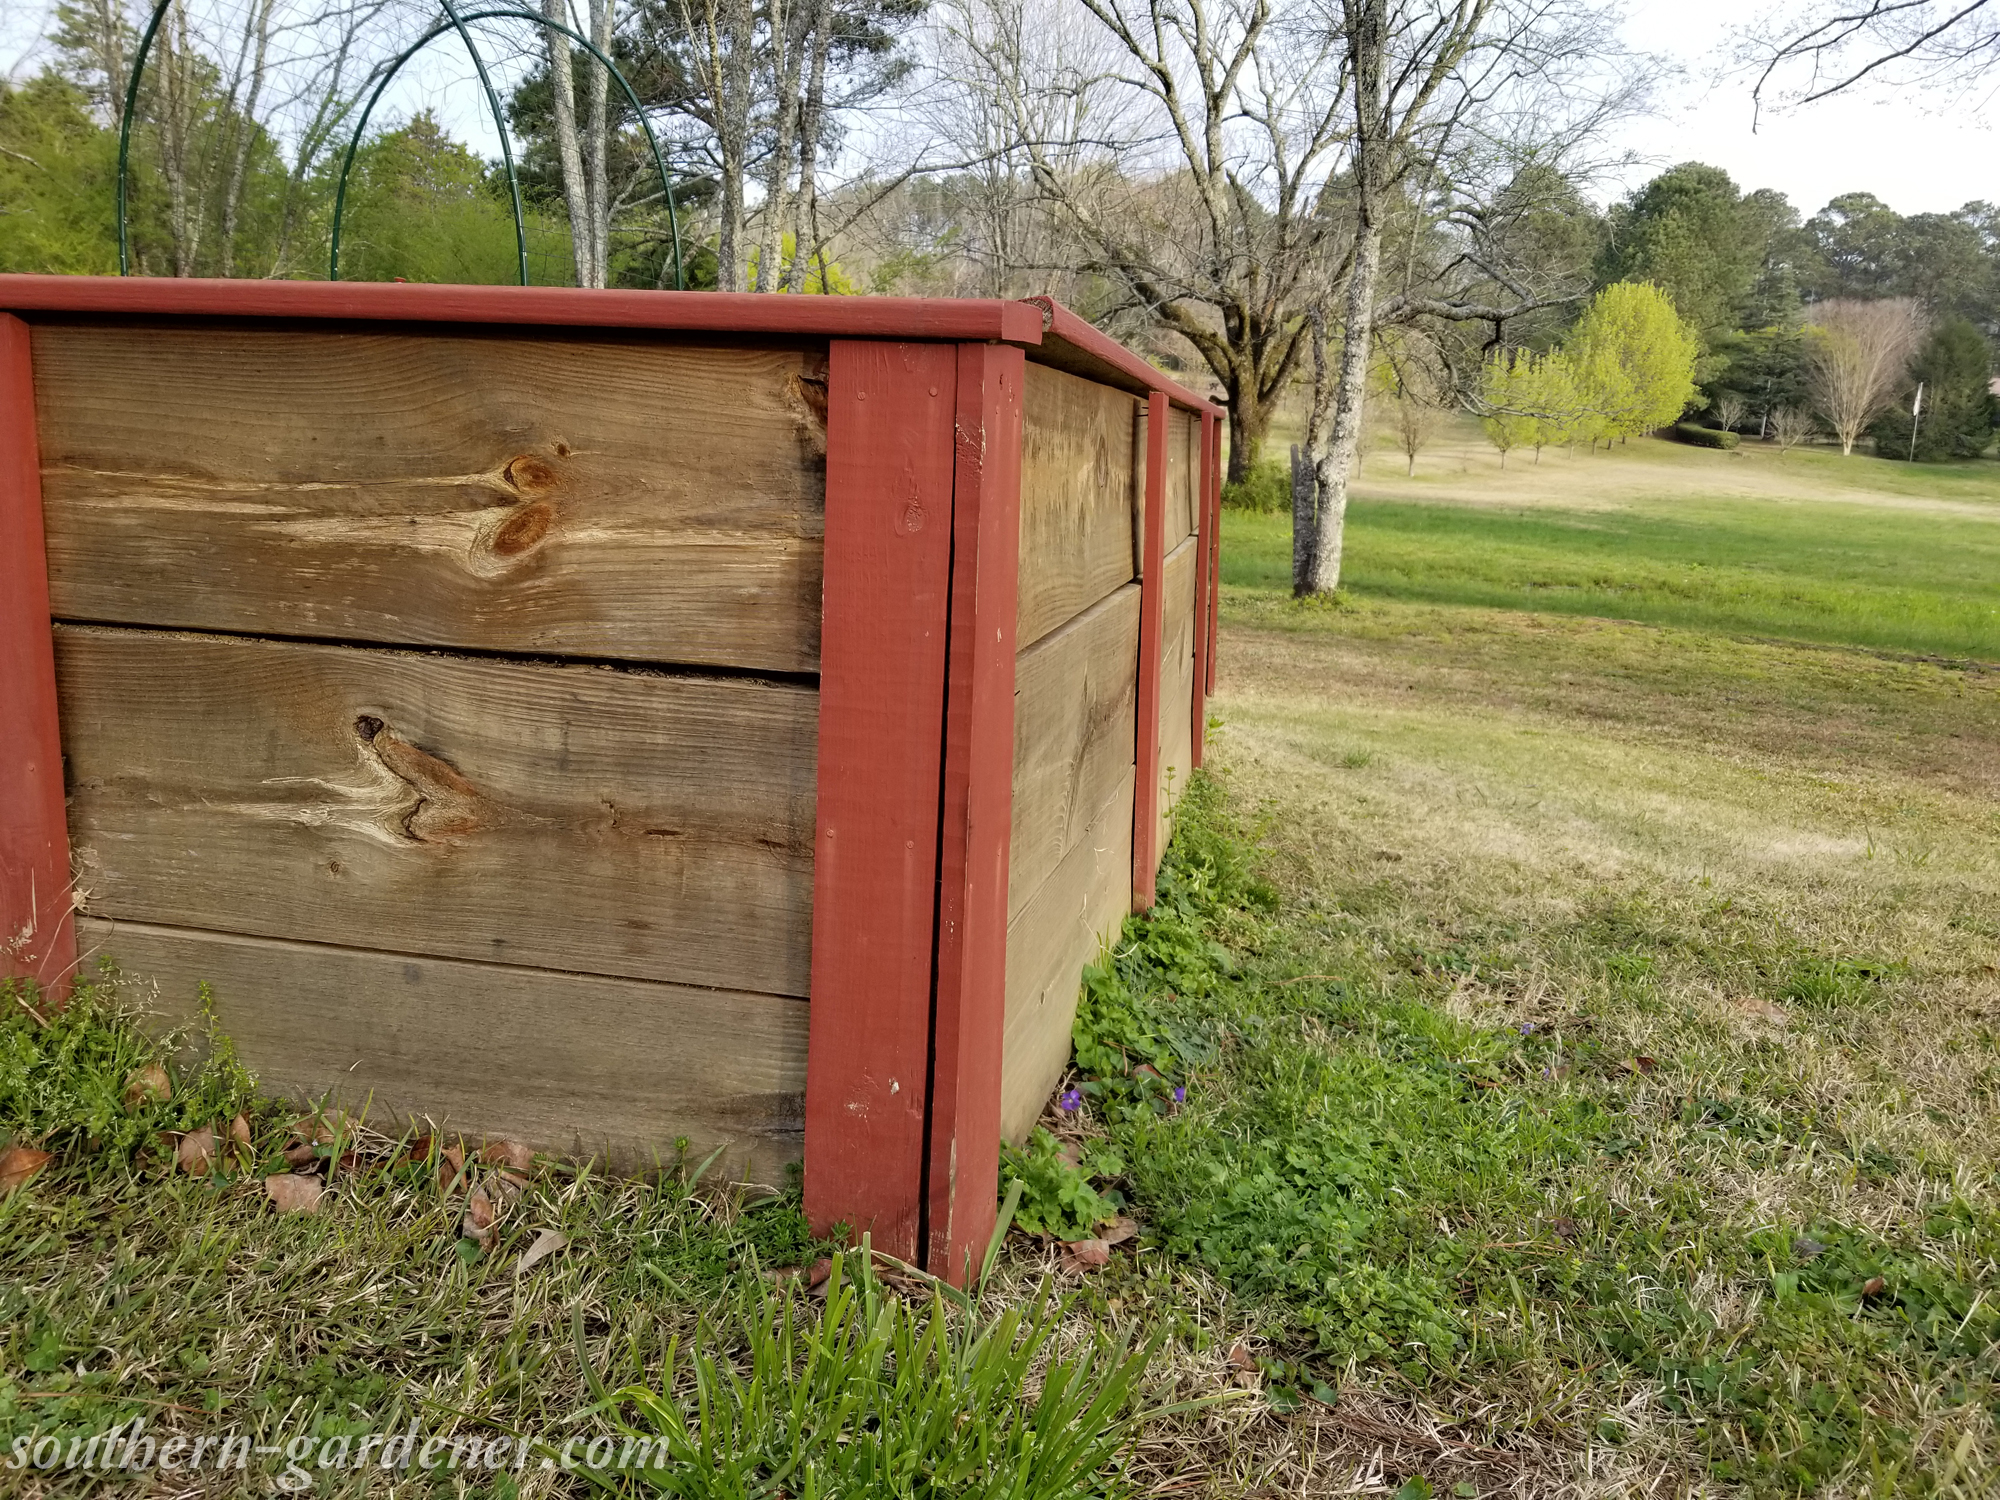
It’s a little harder to see in the picture because the weeds are doing a good job of hiding it, but it has bowed out pretty bad, and now I am kicking myself in the butt for doing it this way. The trim pieces on this side aren’t even attached to the top board anymore because of the bowing.
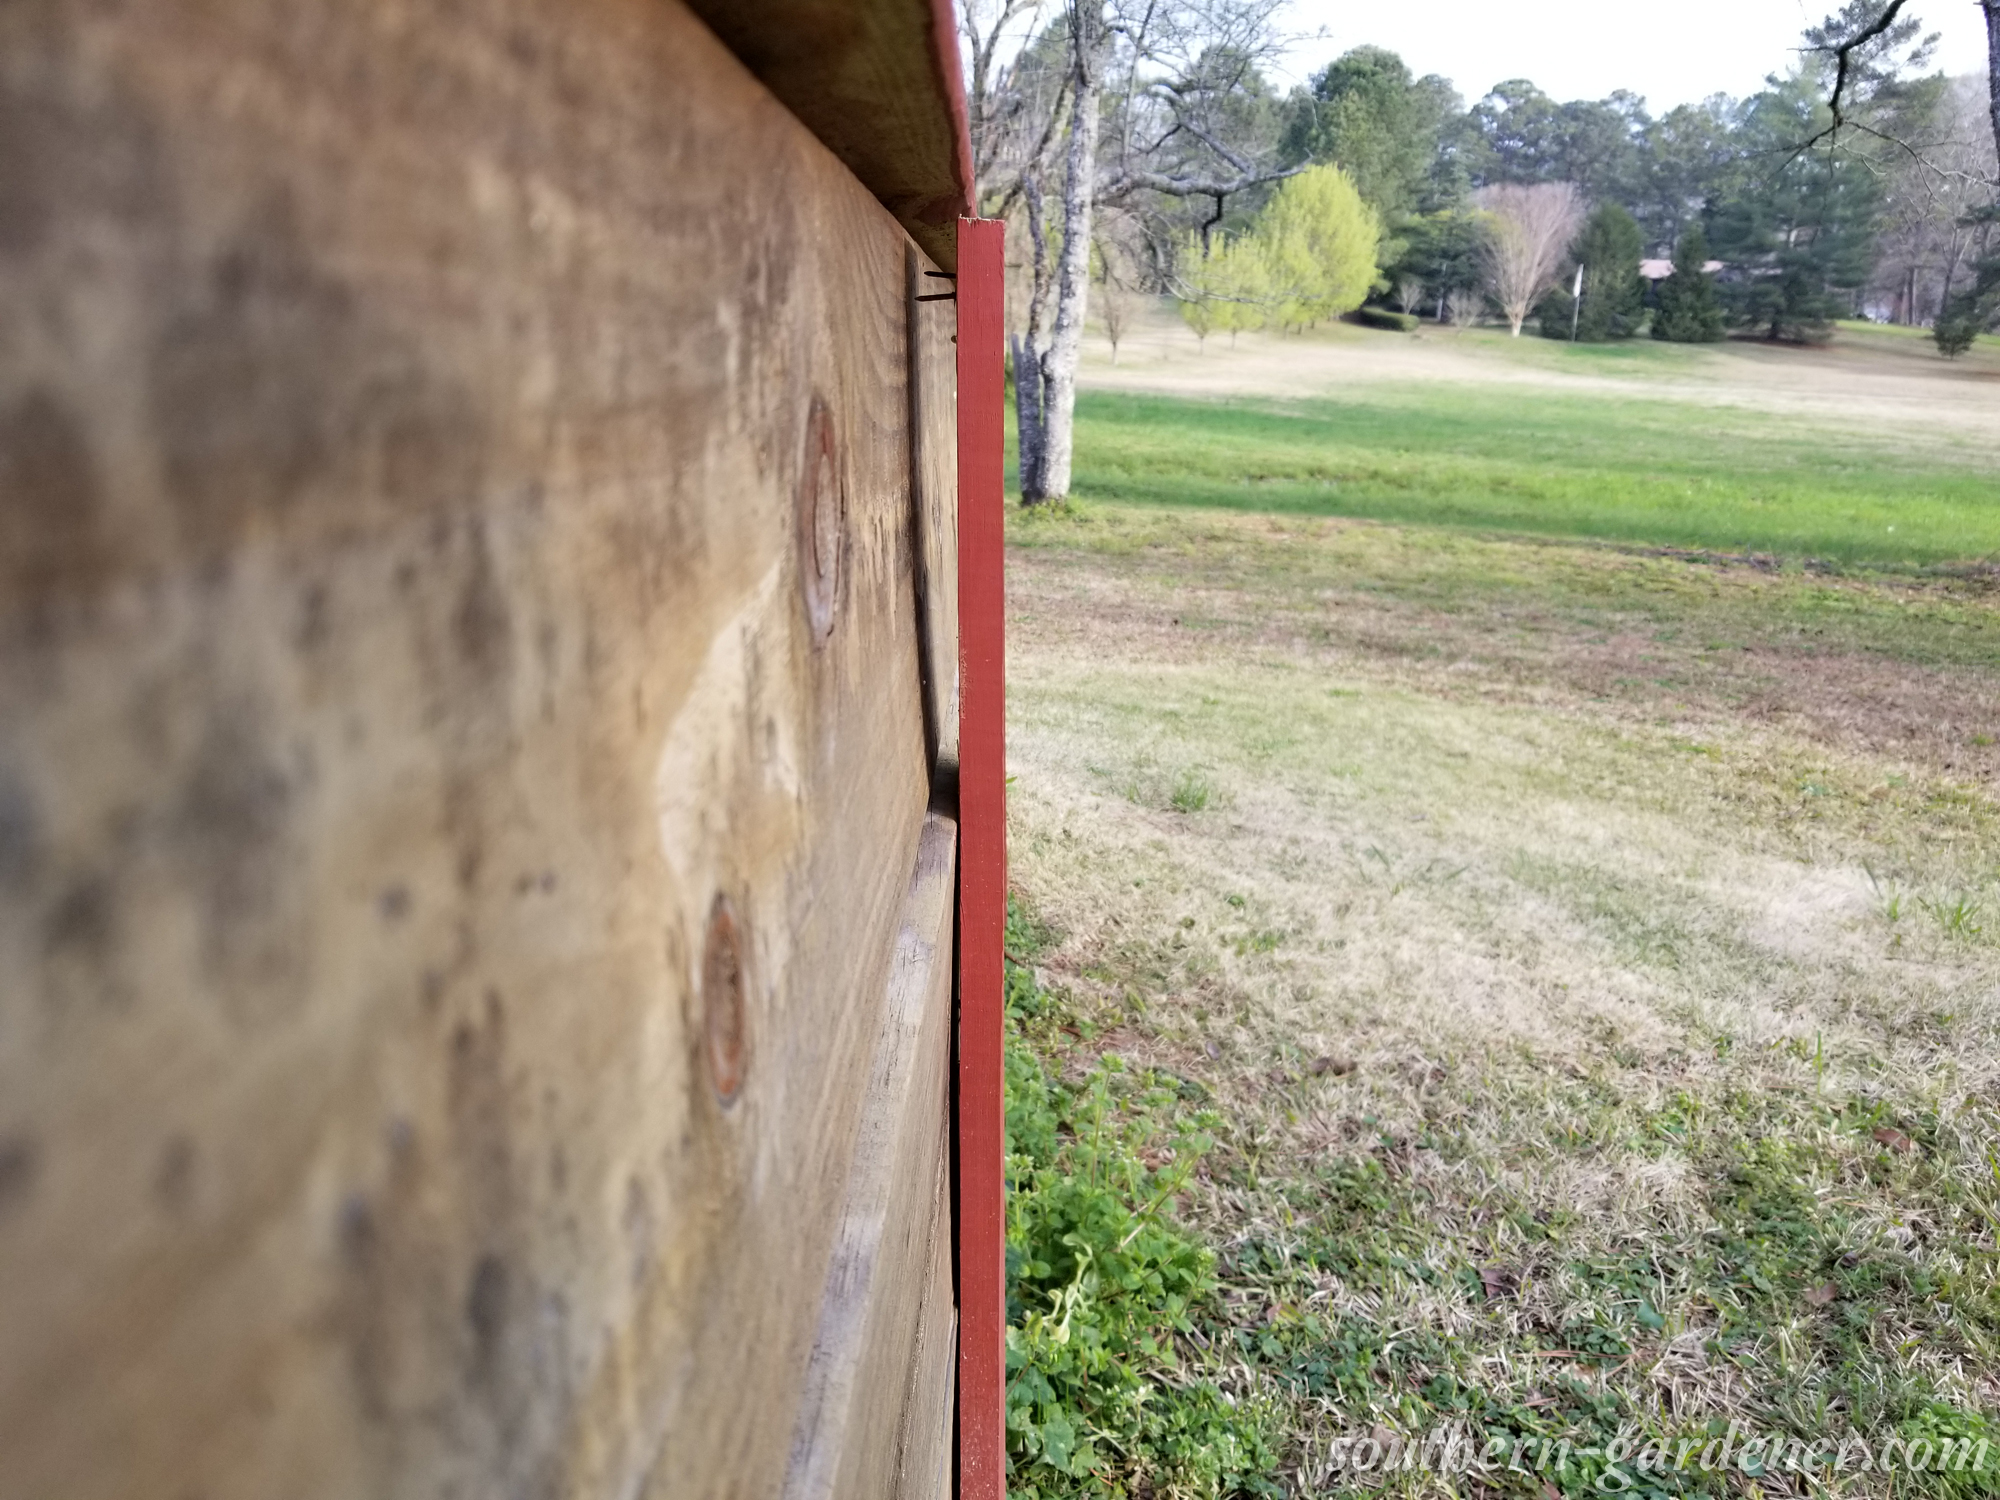
The new way I’d do the garden beds pretty much takes care of the bowing out problem, and I would definitely level the beds so all 4 corners were sitting on the ground in the future. 😐
-
Weed Fabric
I used cheap, thin weed fabric from one of the big box stores. As you recall from one of the first pictures in this post, the area we covered with these garden beds was a hot mess and including some briars. Some very determined briars.
Invest in some higher quality weed fabric!! I use Dewitt weed fabric now, and I love it so far! If I had used this, I might not have issues now with a few briars wanting to grow in the garden. 😕 I just keep them cut back and will apply some full-strength poison ivy killer on them this year when they emerge.
-
Dirt
I have saved this one for last because it is by far the most important change I would make! Since it’s been 4 years and my memory is terrible, I went back to see how much dirt I purchased and was appalled that I spent over $500 on DIRT to fill these beds. Five hundreds dollars. 😮 And that’s not even the worst part. The worst part is, that dirt was total CRAP. I paid $500 for dirt that was worthless in my garden beds. I went to a local nursery, and purchased 7 cubic yards of top soil, and then topped that off with 4 cubic yards of garden soil mix, thinking, “Hey, garden soil mix, for my garden!” No. That dirt is one of the reasons my garden did so crappy that first year. When dry, it was hard as a rock (I do not exaggerate).
I have spent the past 3 years now amending this soil. The following year, I added in some peat moss to help with aeration, along with some bags of potting soil. The garden produced a little better that year.

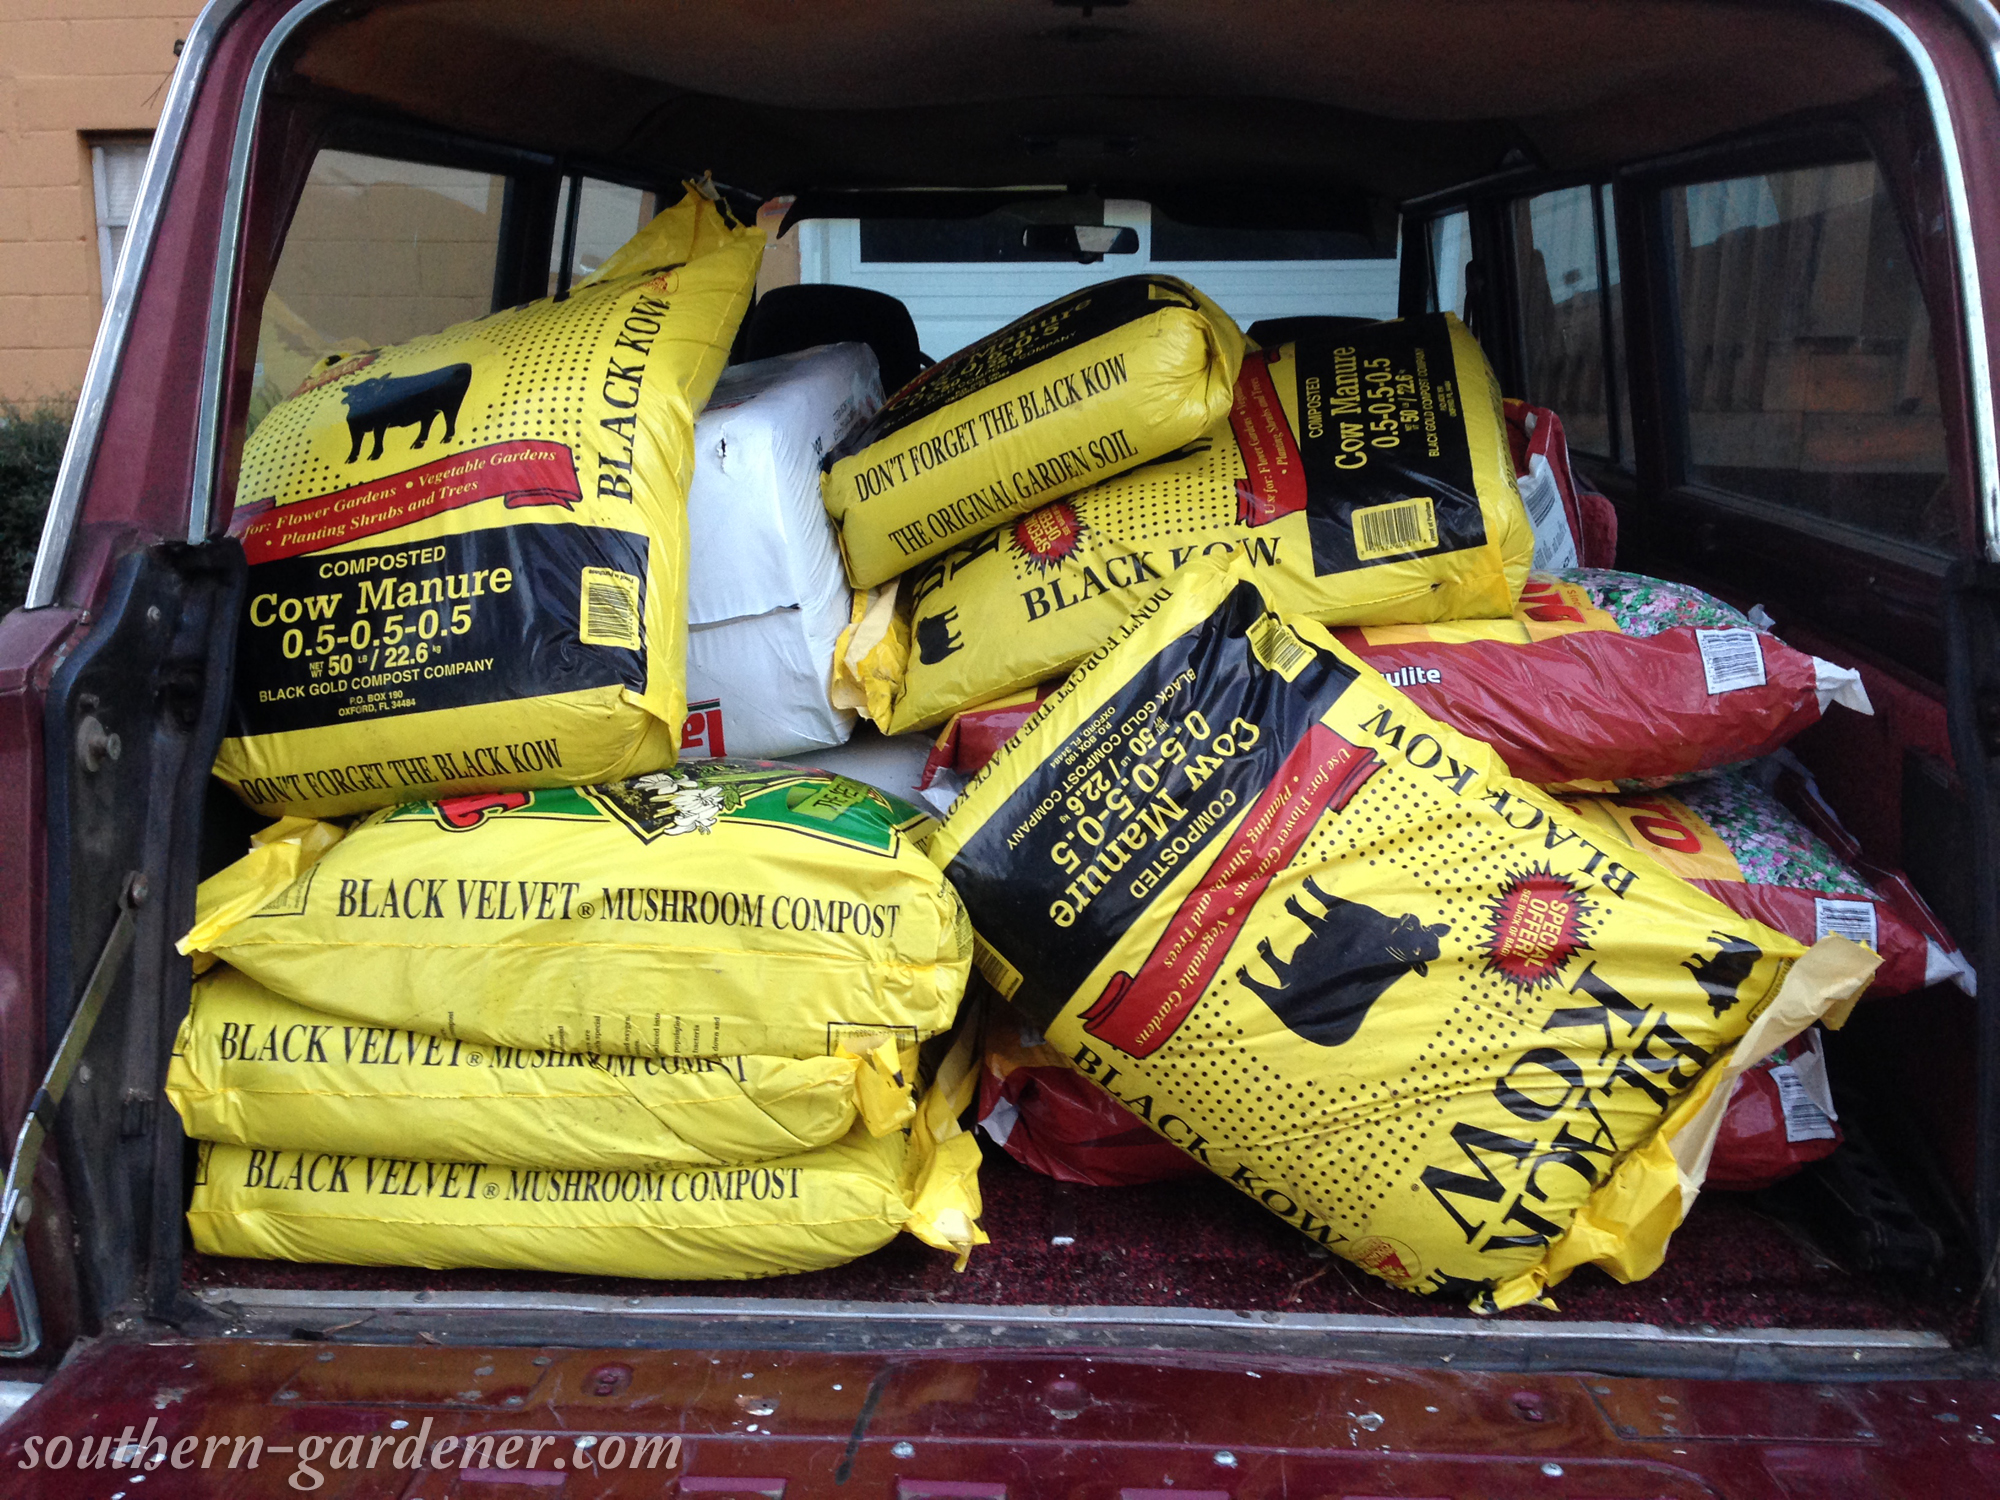
The next year was the most labor-intensive (2016). I removed the top 9″ of soil in each bed, one wheelbarrow at a time, and replaced it with my own mix. I had discovered square foot gardening, so I did equal parts peat moss, vermiculite, and compost I purchased. I didn’t have my own compost, so I used the mushroom compost and black cow compost mixed together in equal parts to make up the 1/3 ratio for the total mix.
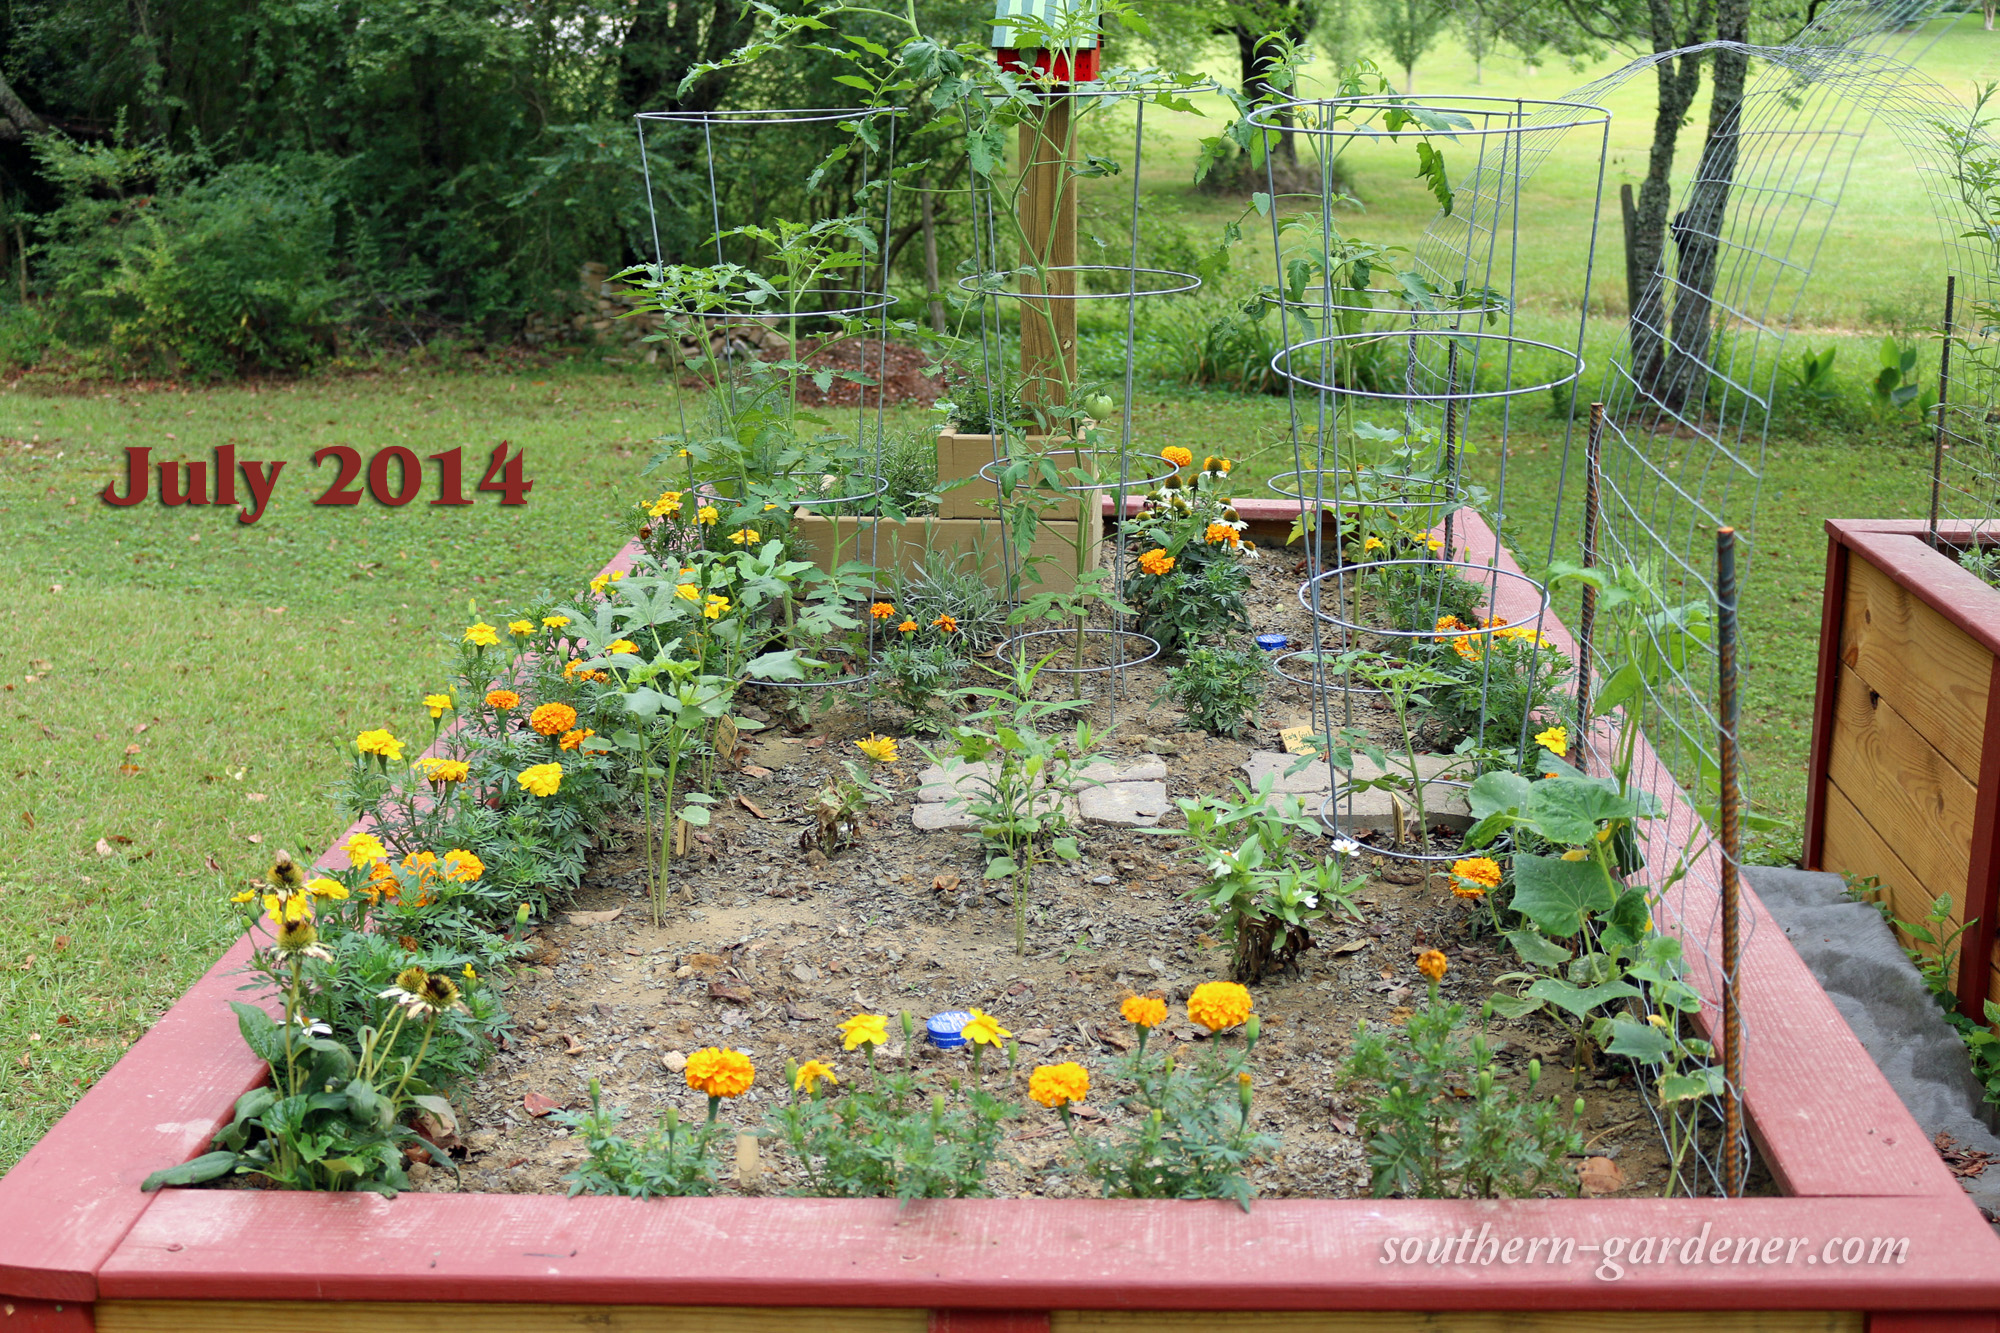
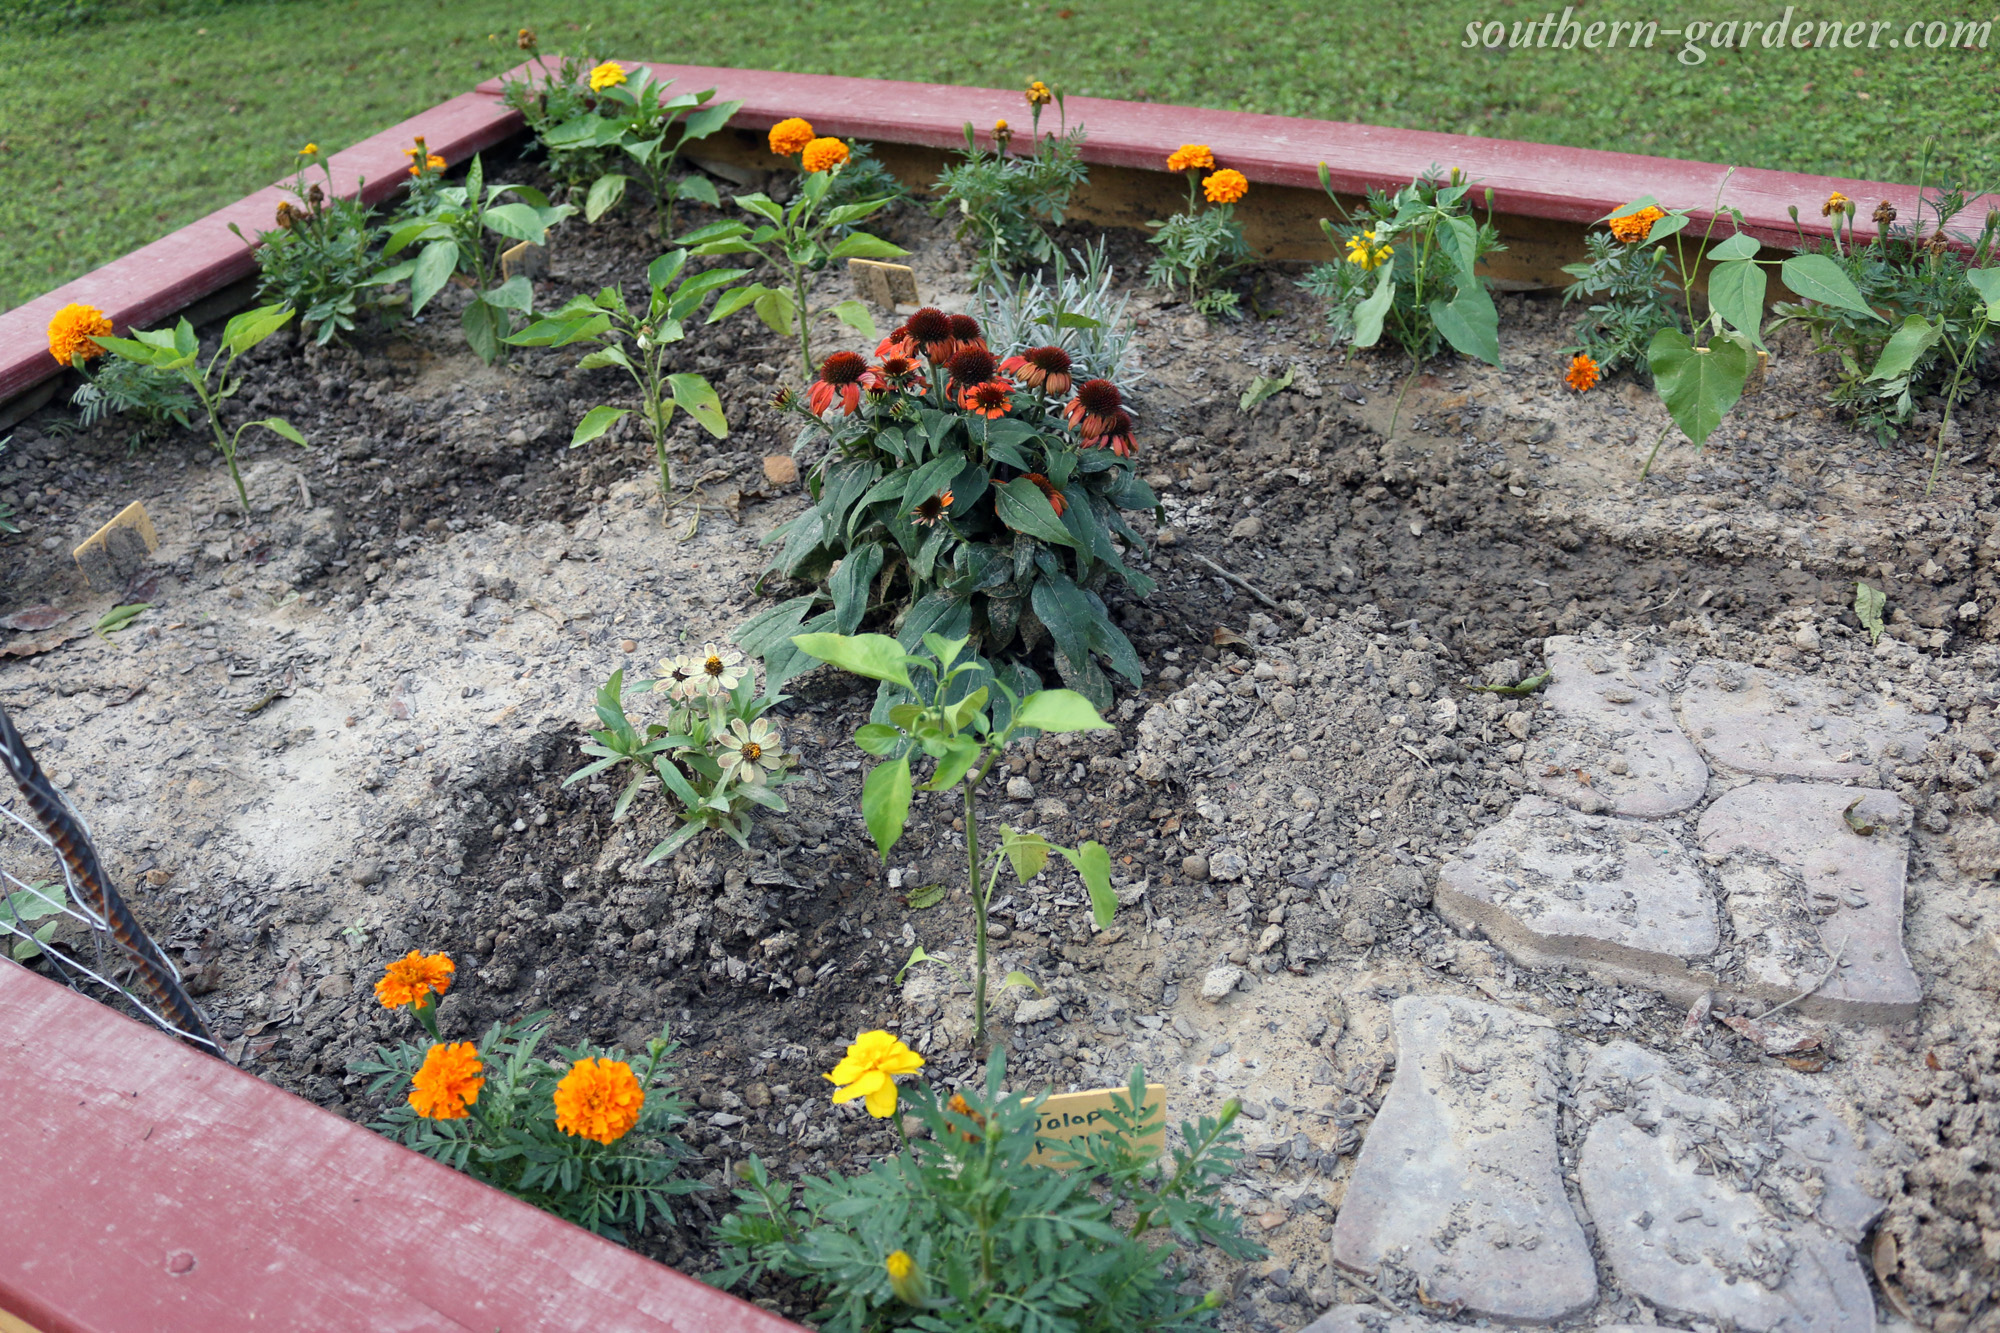
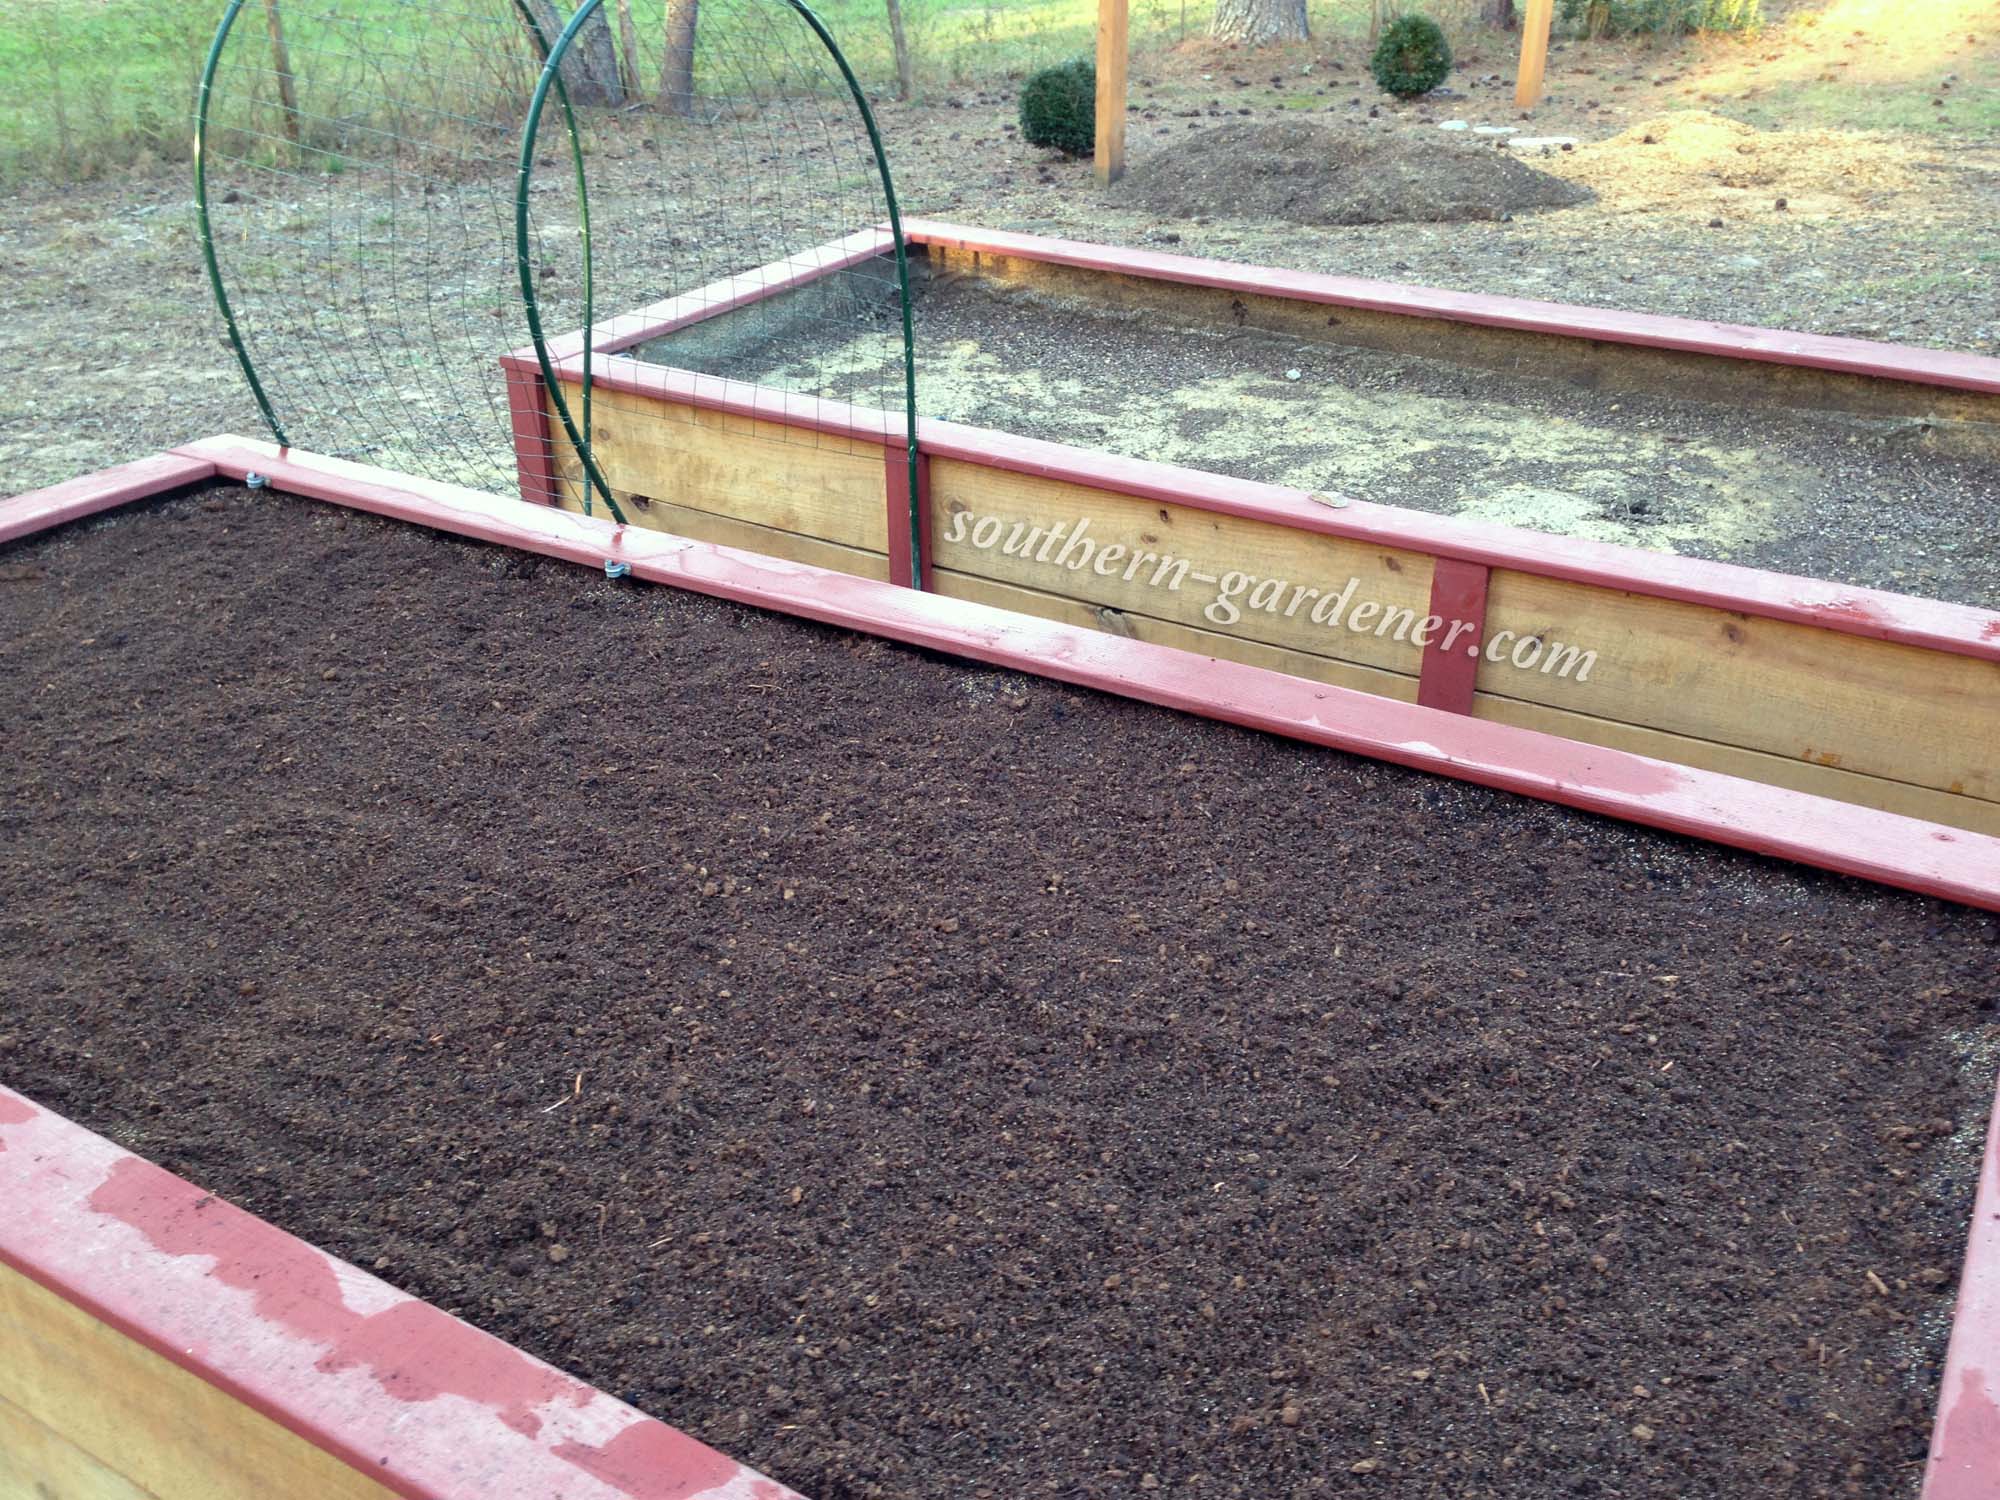
You can see the difference between the way the dirt looks in the bed I had finished in the picture below and the one that I hadn’t. You can also see the pile of dirt in the background that I removed. Ugh…. so much work. MAKE SURE YOU USE GOOD DIRT THE FIRST TIME!
A lot of hard work and labor has gone into mixing soils, filling the beds, mixing, and filling. Unfortunately, I cannot get rid of any destructive fungi or bacteria, such as blight spores, verticillium wilt, and fusarium wilt. I’m pretty sure one of those is in the soil as my tomatoes did terrible the first 3 years. Last year, I planted a variety of tomatoes that were resistant to those diseases, and I finally had a decent crop of tomatoes! The only “cure” to something like fusarium wilt fungi is to remove and replace the soil. Um, yeah, I’m going to say no to that! I am hoping those same varieties of tomatoes do well again this year!
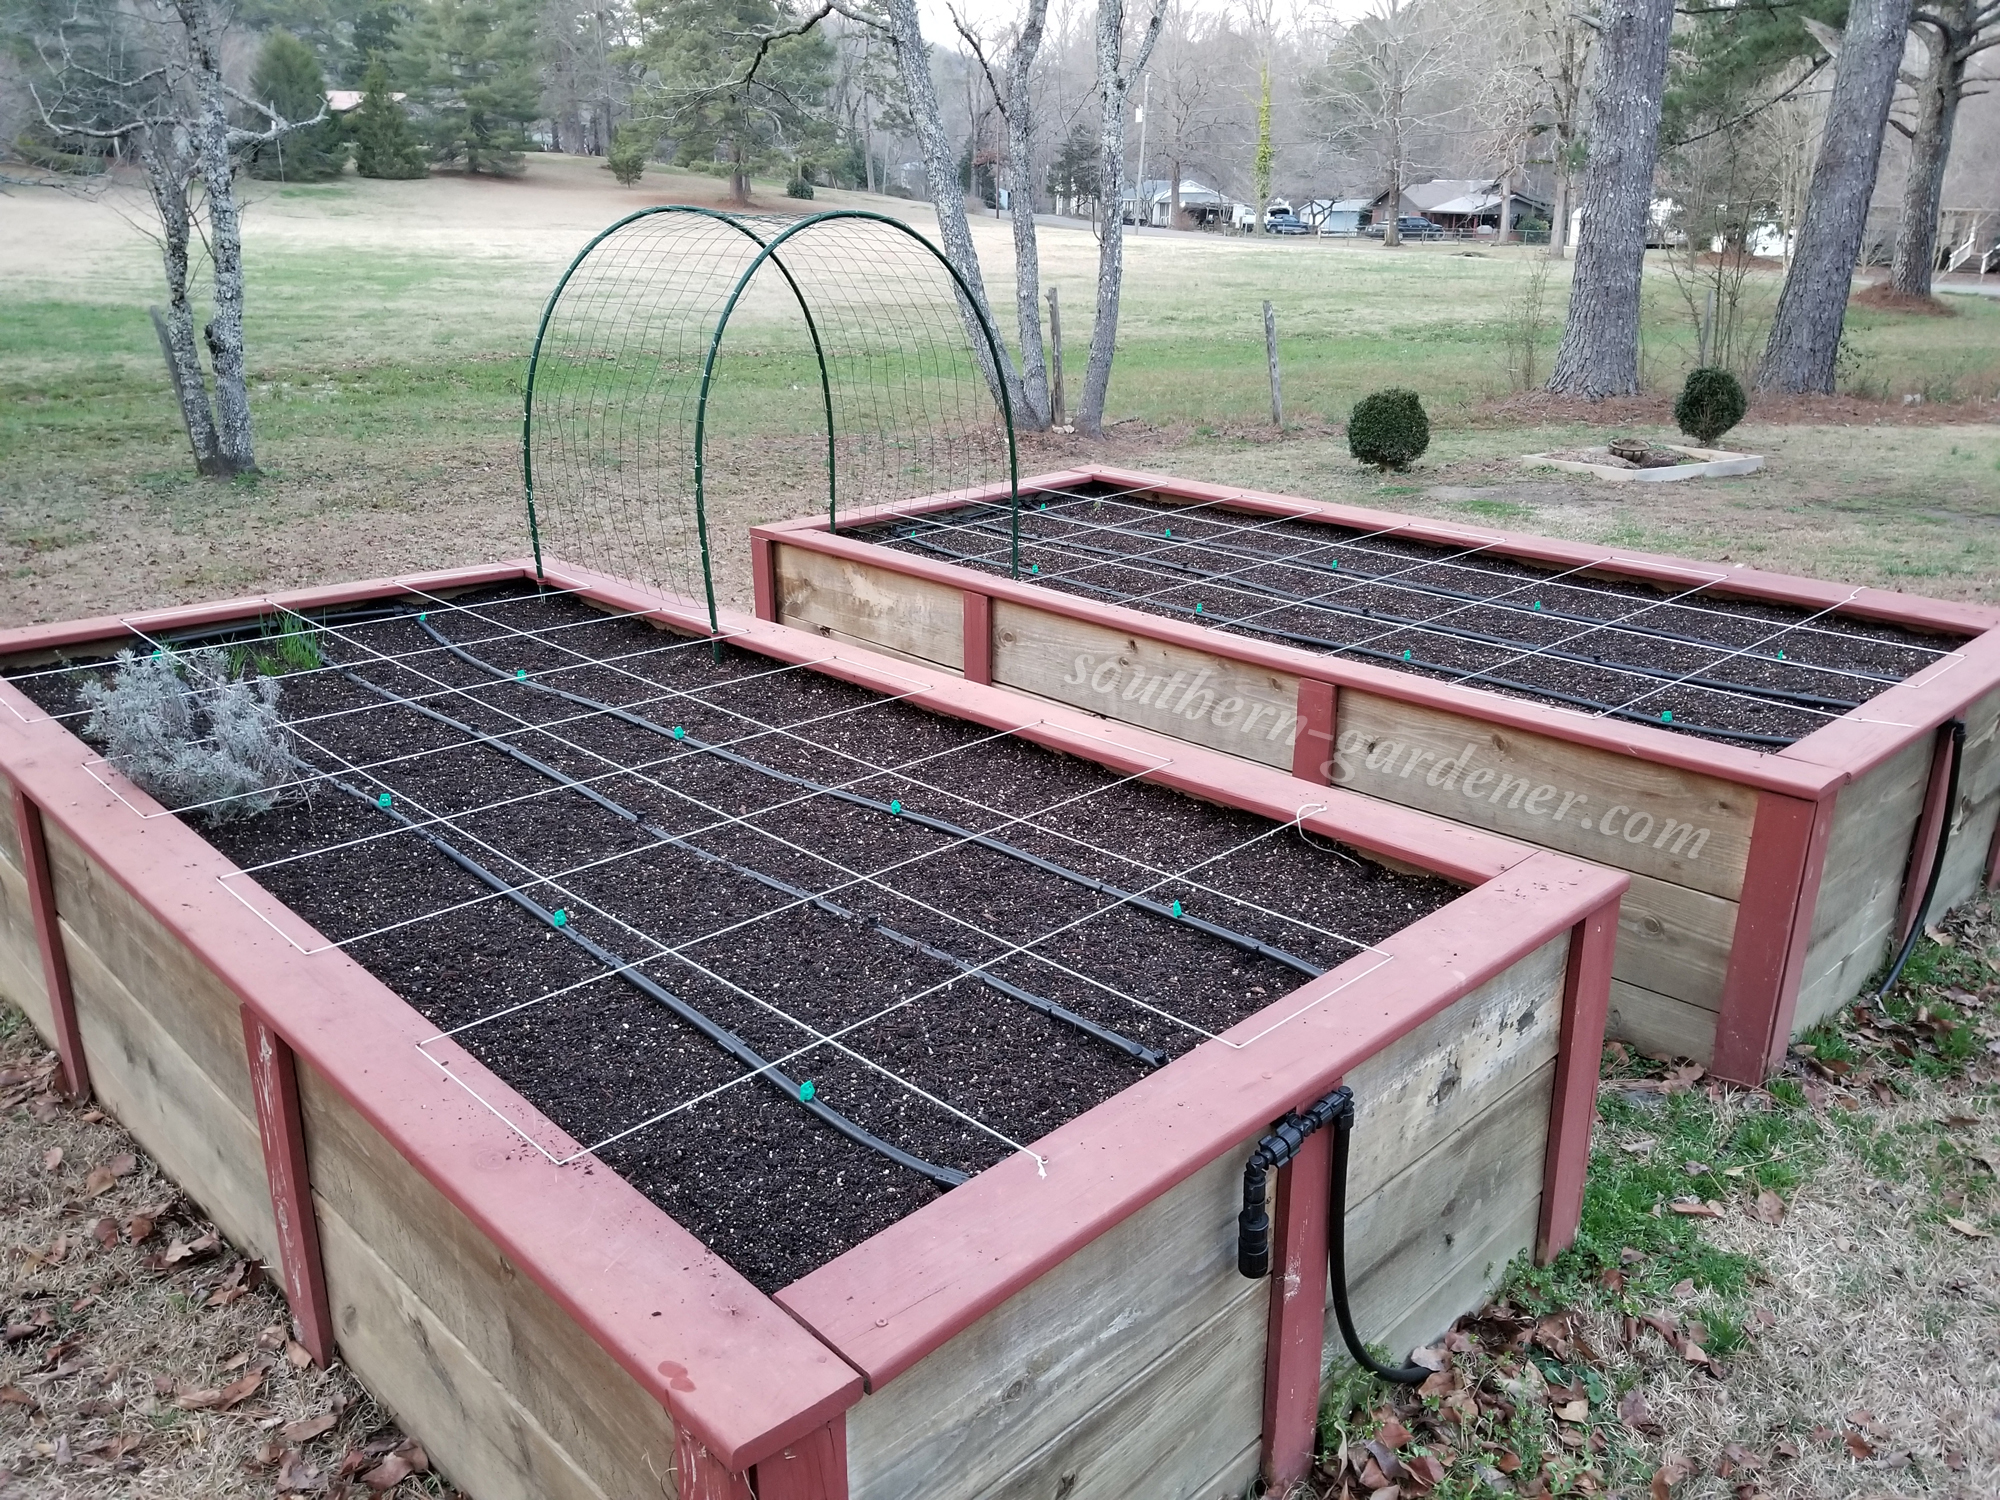
This year, as I prepped the beds and topped them off with more soil to bring the levels back up to a good point, I mixed portions of Sta-Green Flower, Vegetable, & Herb Soil, Black Cow composted manure, and vermiculite. I just eyeballed the measurements this time and didn’t do equal parts of each. I will see how well the garden does this year. If I was going to make new beds now, this would be the general mixture I would use. I did one 3-cubic foot bag of the Sta-Green to one bag of Black Cow, and about 1/5 a bag of the vermiculite.
The absolute most important thing when doing raised garden beds is the soil you use! Make sure it’s of a decent quality, or it could make all of your hard work pointless. 😥 That is one of the toughest lessons I had to learn on my own with these beds!
david colmer
Thanks for sharing! Love learning from other people’s experience. Looking into building some raised beds for myself, wife, and two daughters. Hoping to save a little headache and heartache be making notes of what other’s would do differently.
April
I’m glad I could be of help! Since moving to another house in a time where lumber was really expensive (Covid!), I opted for galvanized raised beds and could not be happier! No worries about treated lumber or termites eating the cedar plants (which they did here at this house!!). And these days, galvanized raised beds are so much cheaper (Amazon) than what it would cost to build them. One other piece of advice to add that did not apply here is making sure your pathways in between your garden beds are wide enough for a wheelbarrow! Good luck with the garden bed building!