

I wanted something colorful and pretty at our back door, so I decided to make my own tiered planter out of cheap plastic planters from Wal-Mart. The largest one on the bottom (18″ basic resin planter) was around $11.97. There are a few things I’d do different if I were to make another of these. I did this one about 2 1/2 years ago in April 2016.

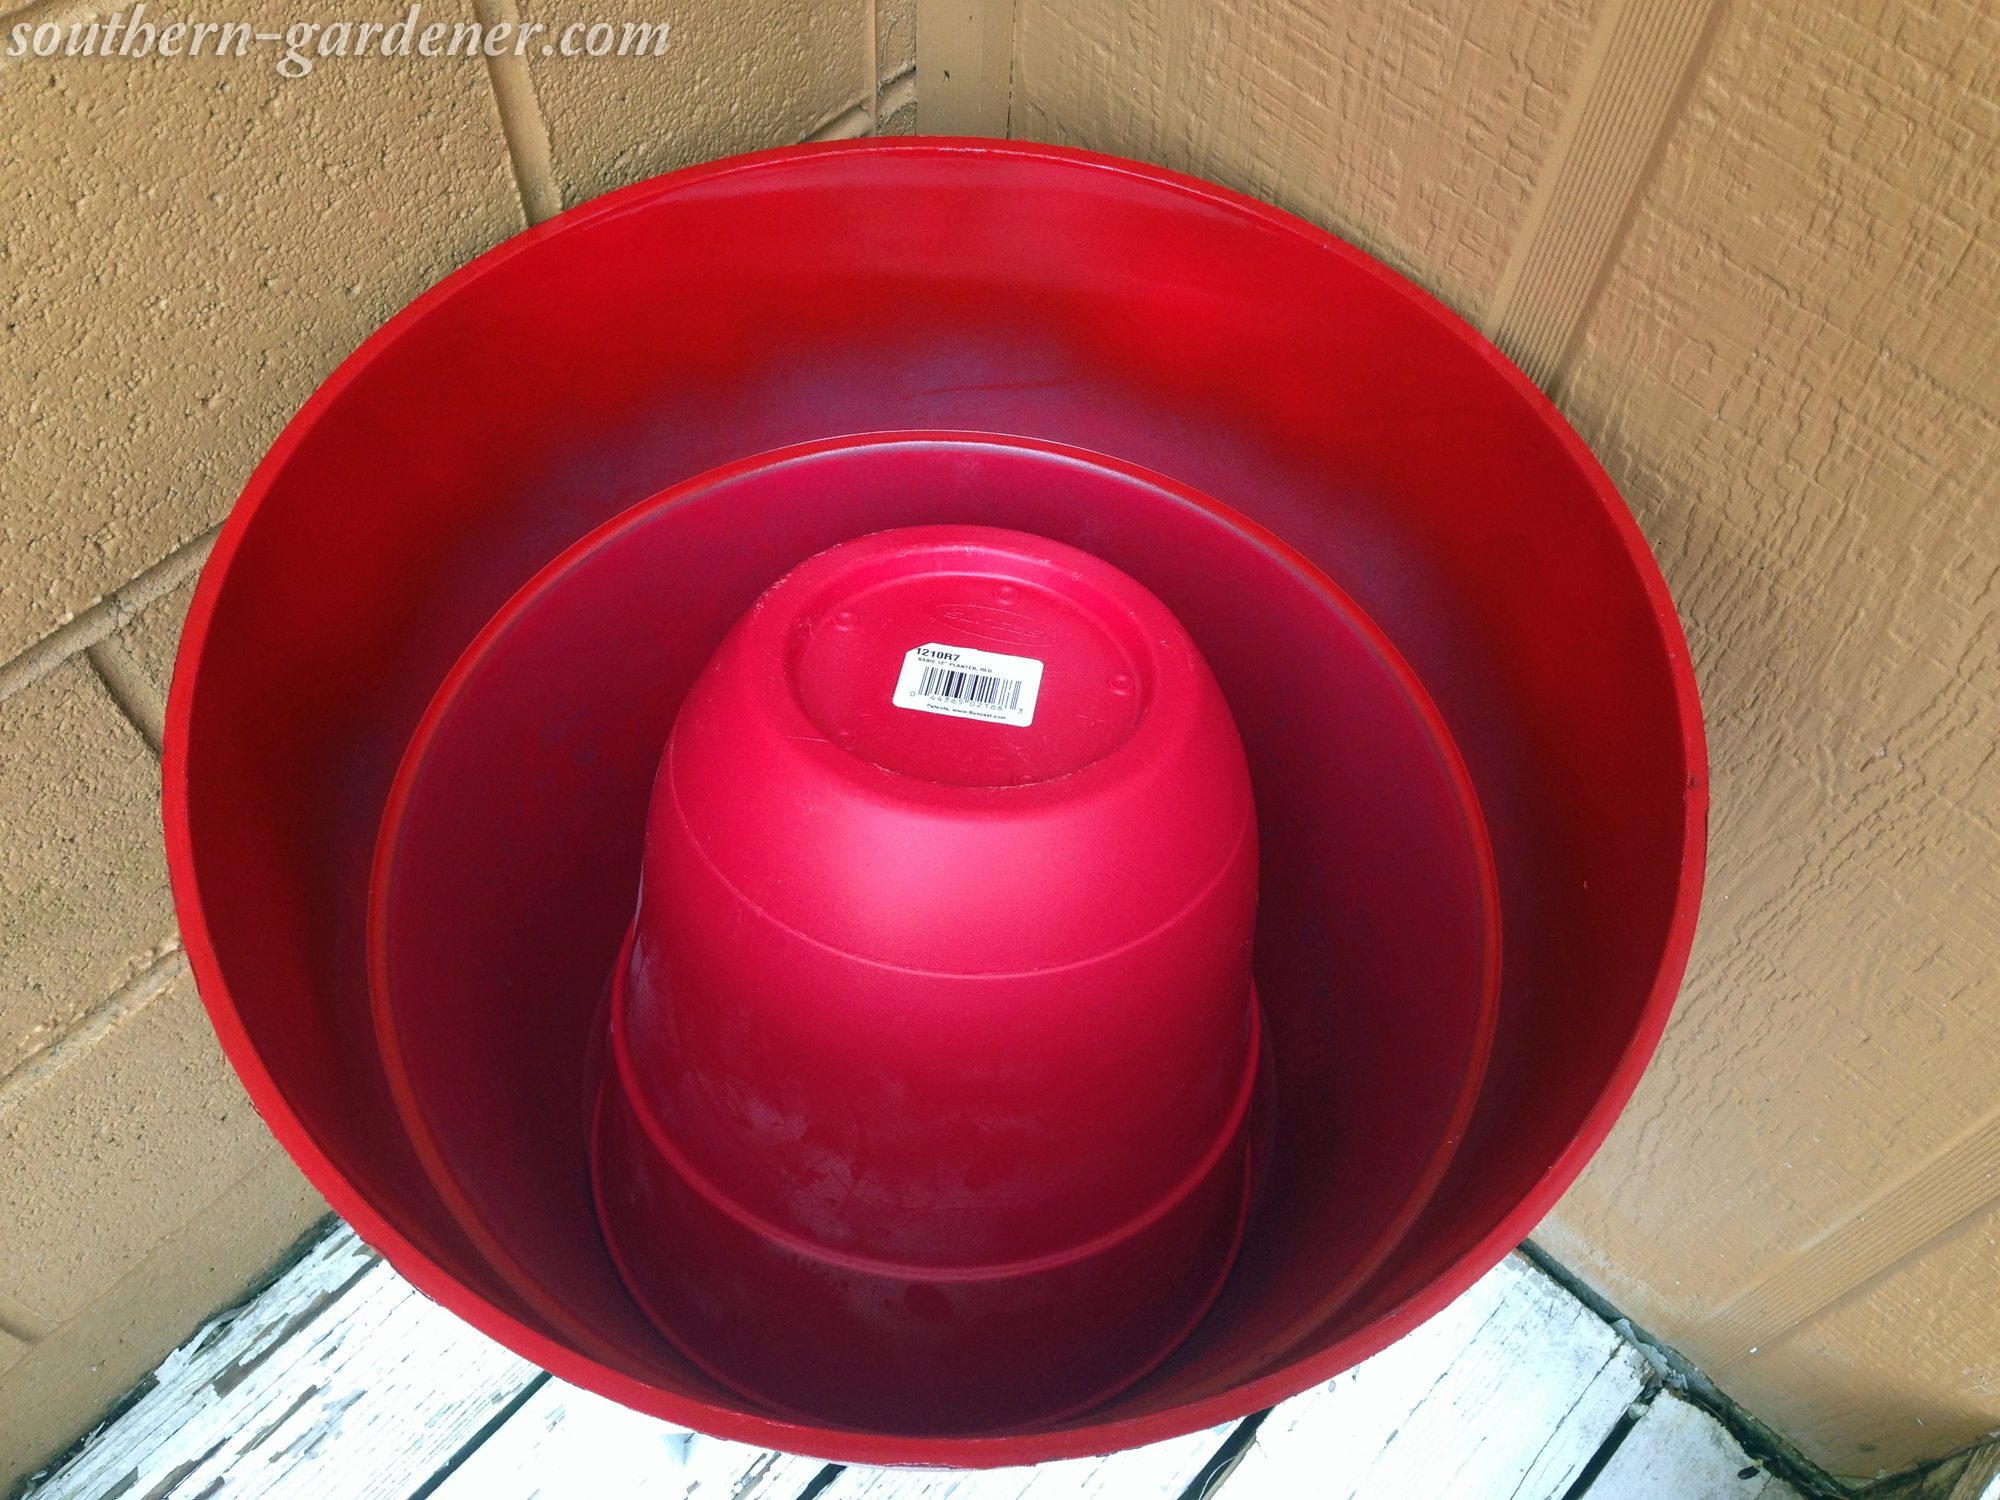
I am pretty sure I used an 18″ planter for the bottom and inserted a 12″ planter ($2.50) upside down. I did this for several reasons: 1) I didn’t want to fill the entire planter with soil when I was only planting in the front part. 2) This also made that tier lighter, which would make it easier to move it if I ever wanted it somewhere else. 3) It would add some stability when stacking the other planters. I also put another smaller planter upside down on the 2nd tier (the yellow planter).
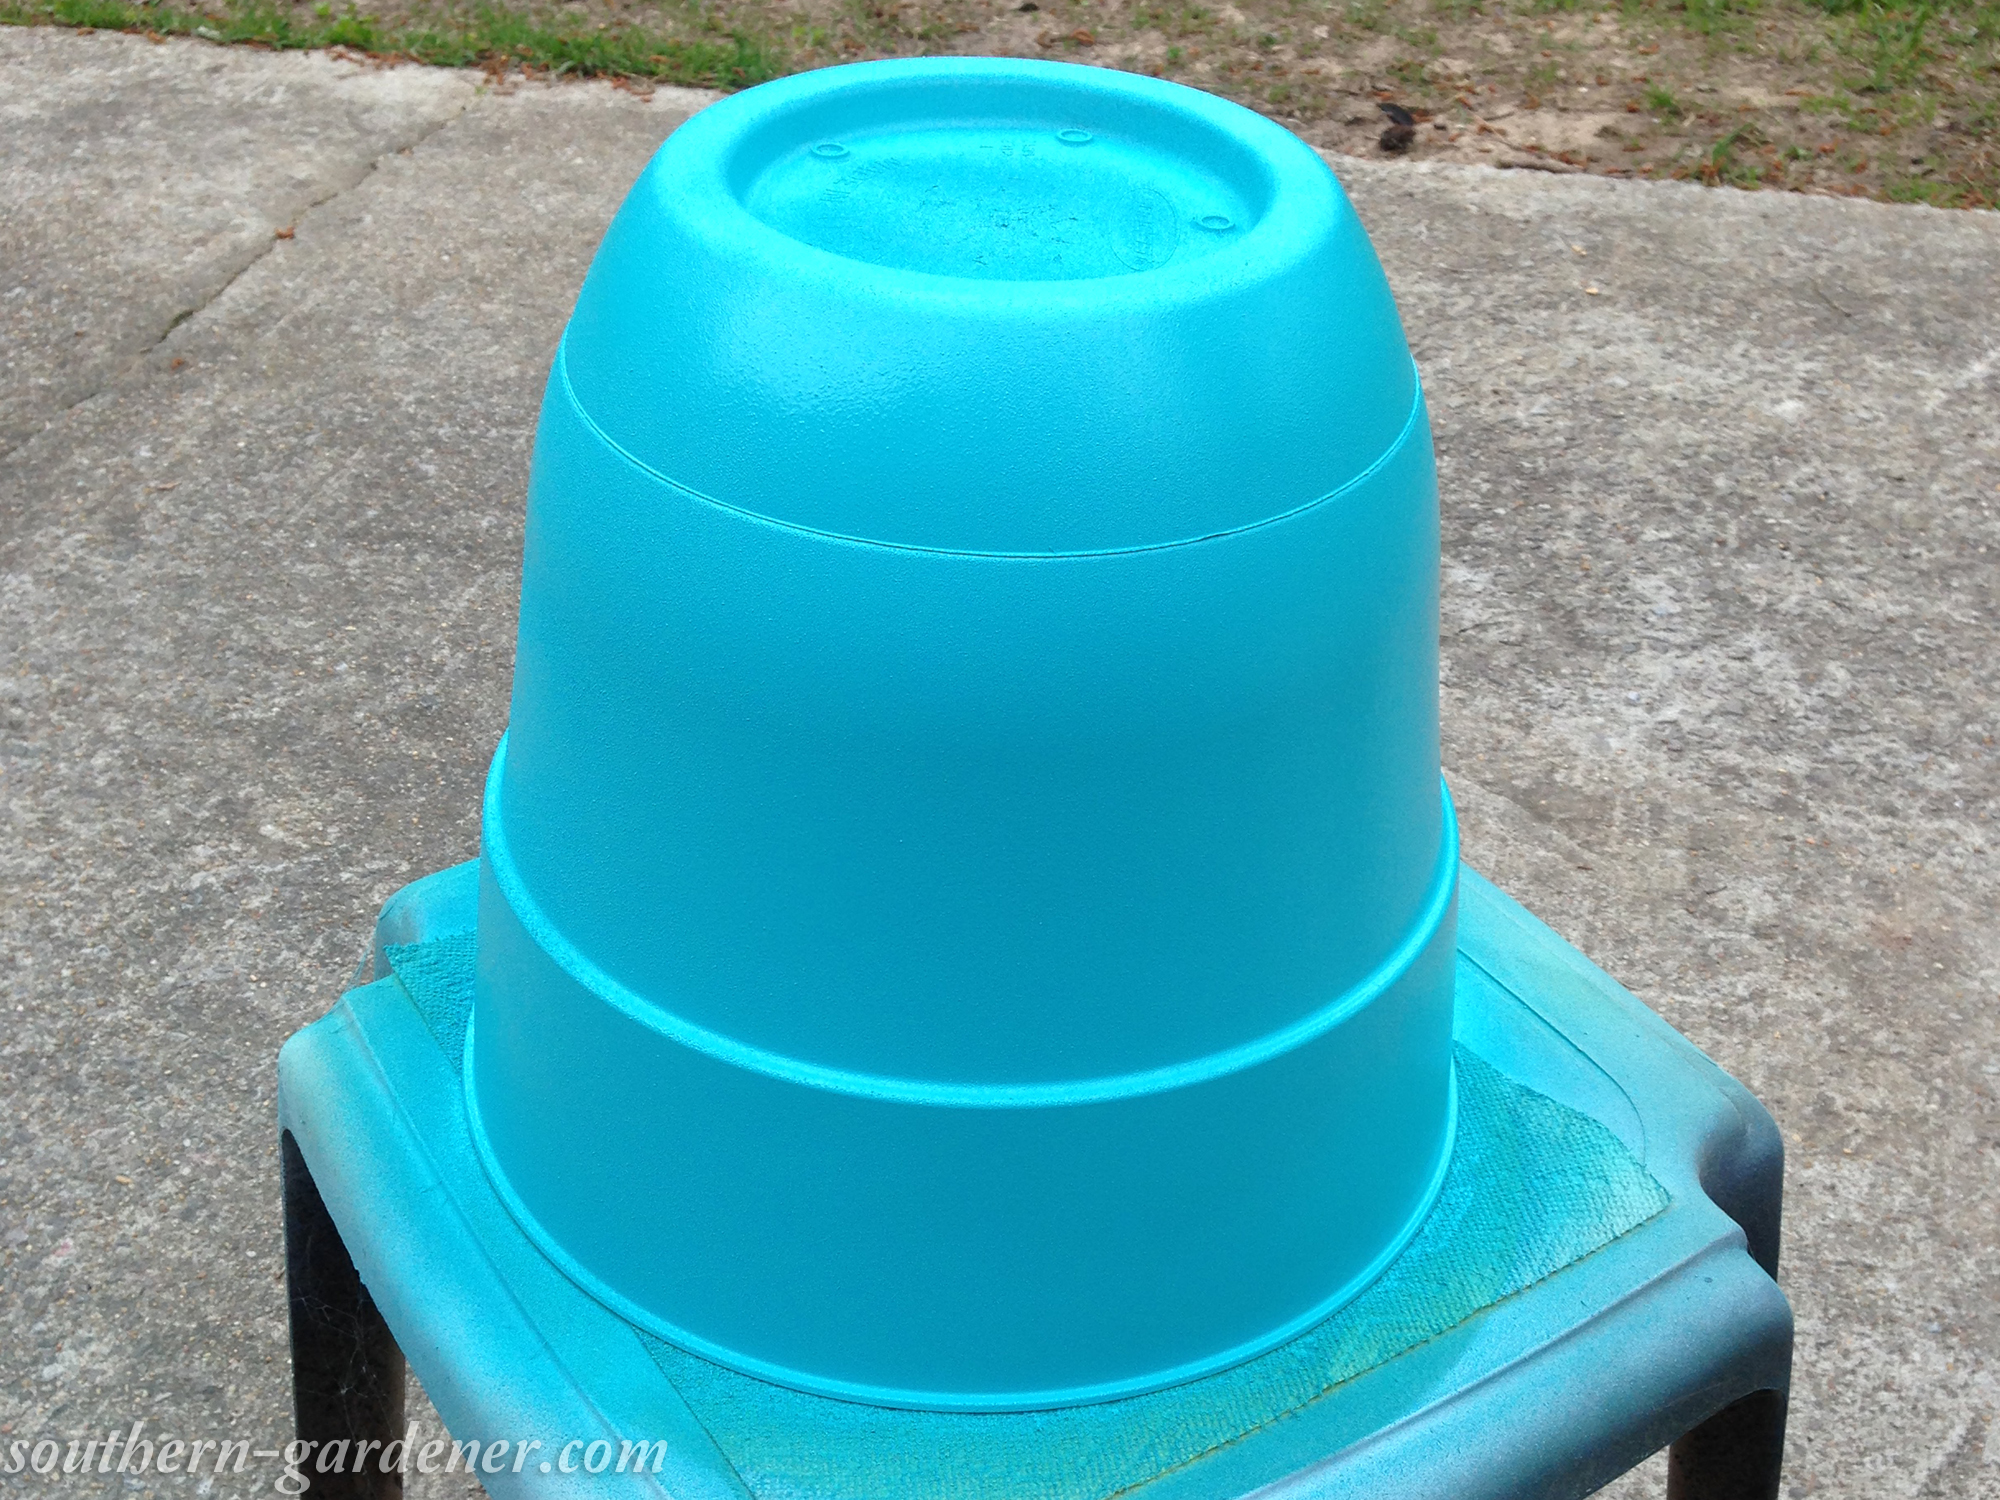
The planters I purchased at Wal-Mart were either red (like the one inside the planter above) or a rather unattractive green (in my opinion), so I decided to spray paint my 4 tiers. I could have left the large red one as-is, but I wanted to use the same color I’d used when re-doing other planters on my back deck so they would match.
This is the most important thing I would do different if doing it all over. The paint eventually started chipping, so if I did another tiered planter like this, I would most definitely use some kind of sealer over the paint to help prevent that. Since it’s outdoors, I tend to lean toward spar urethane.
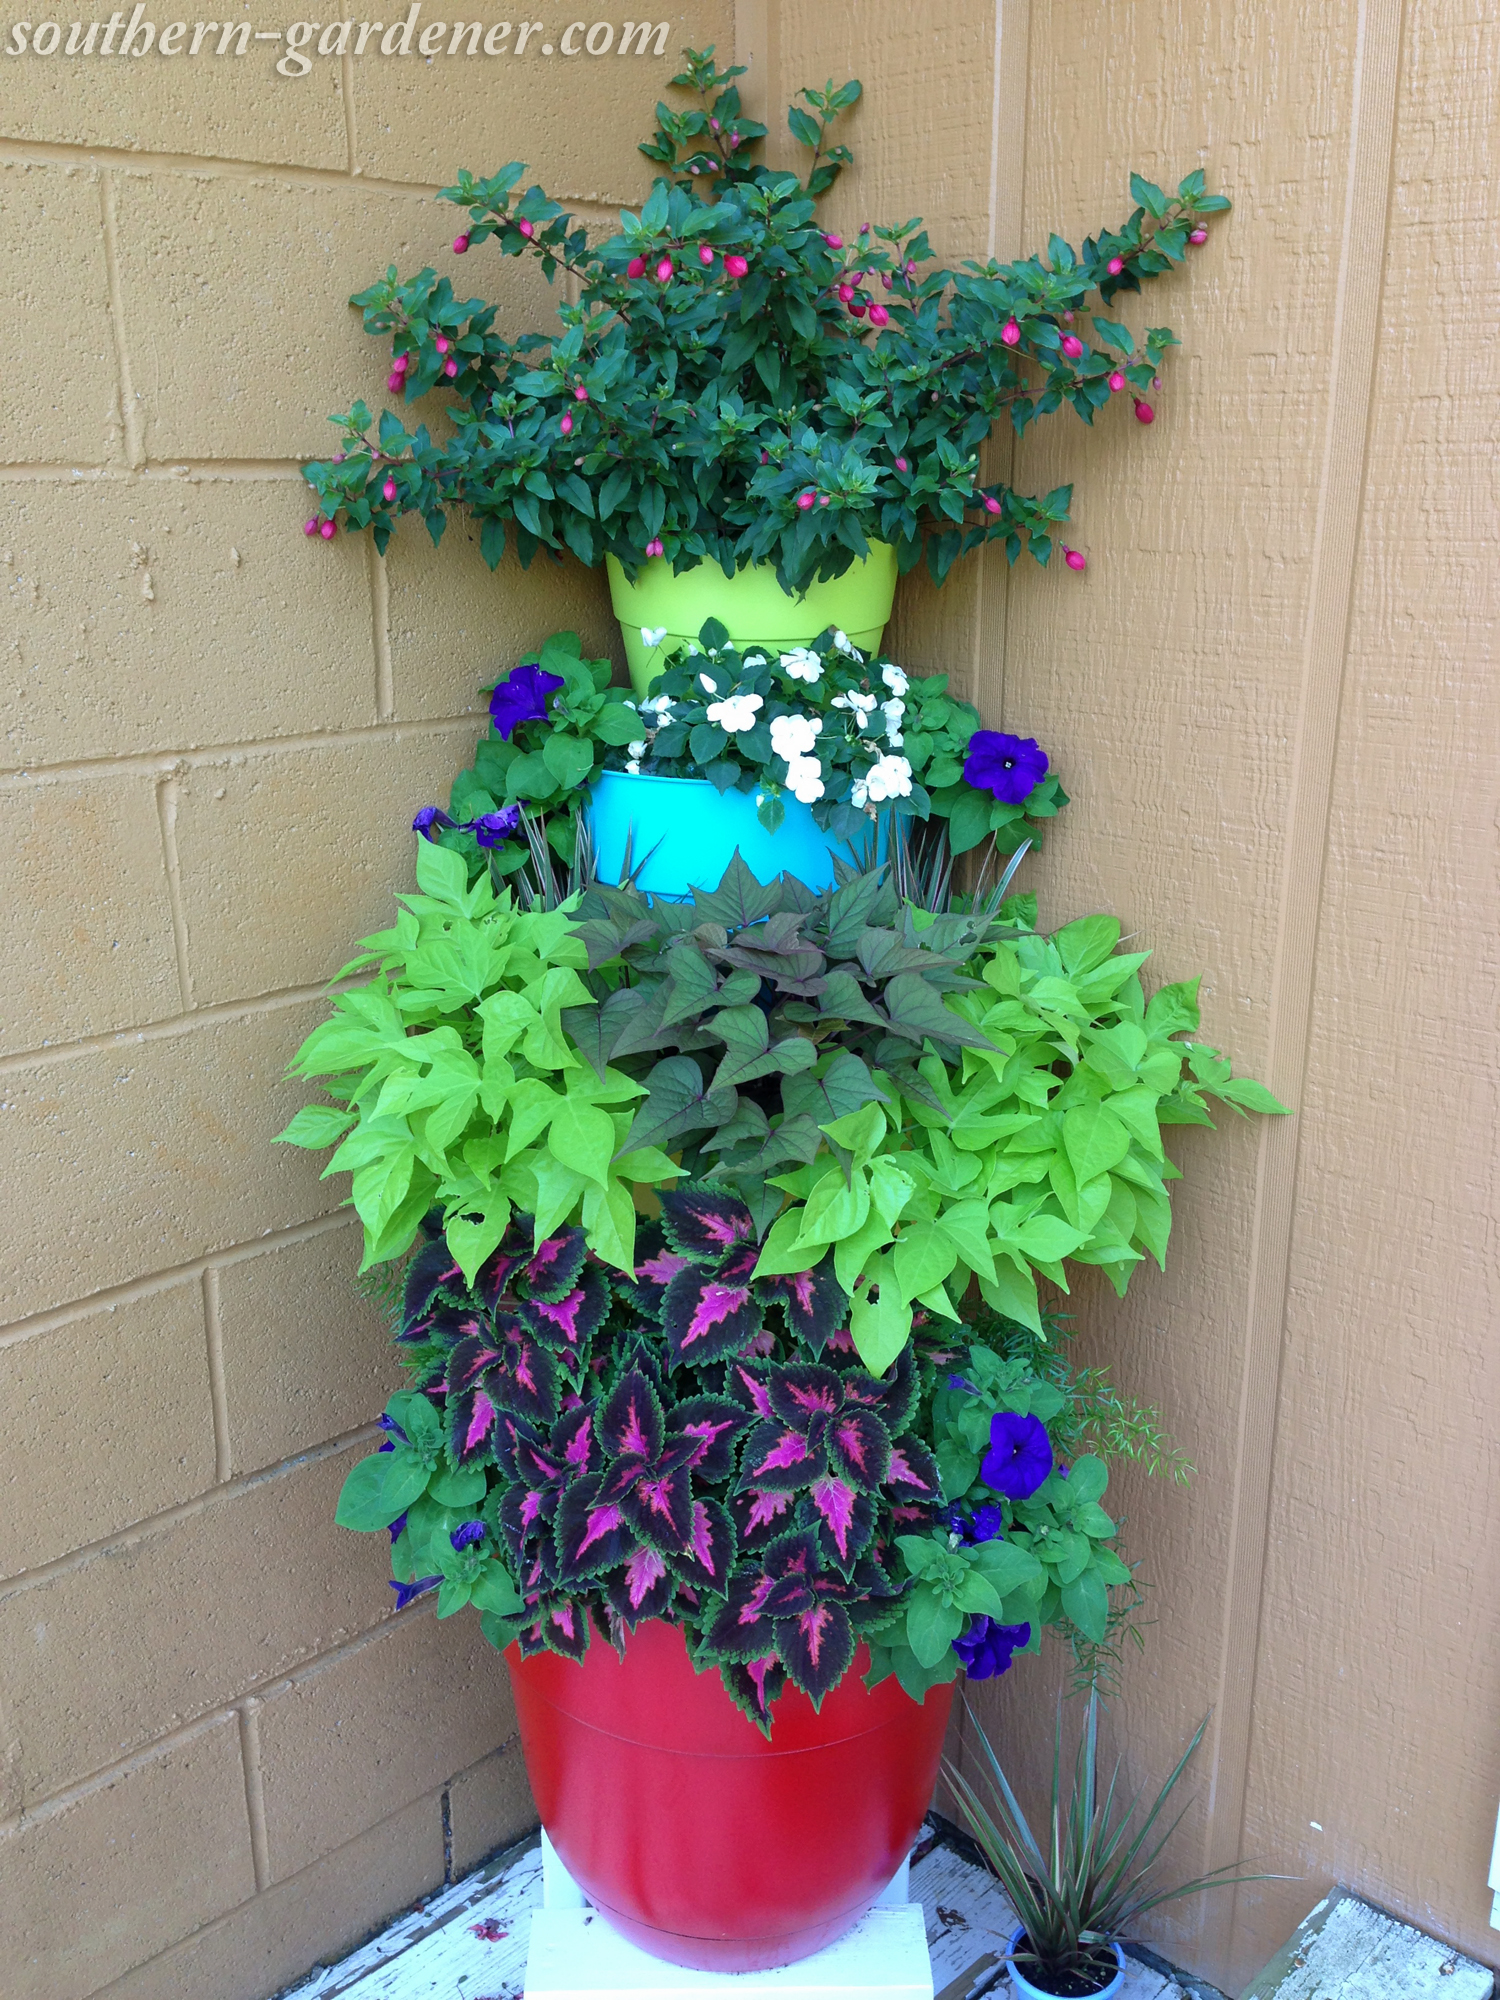
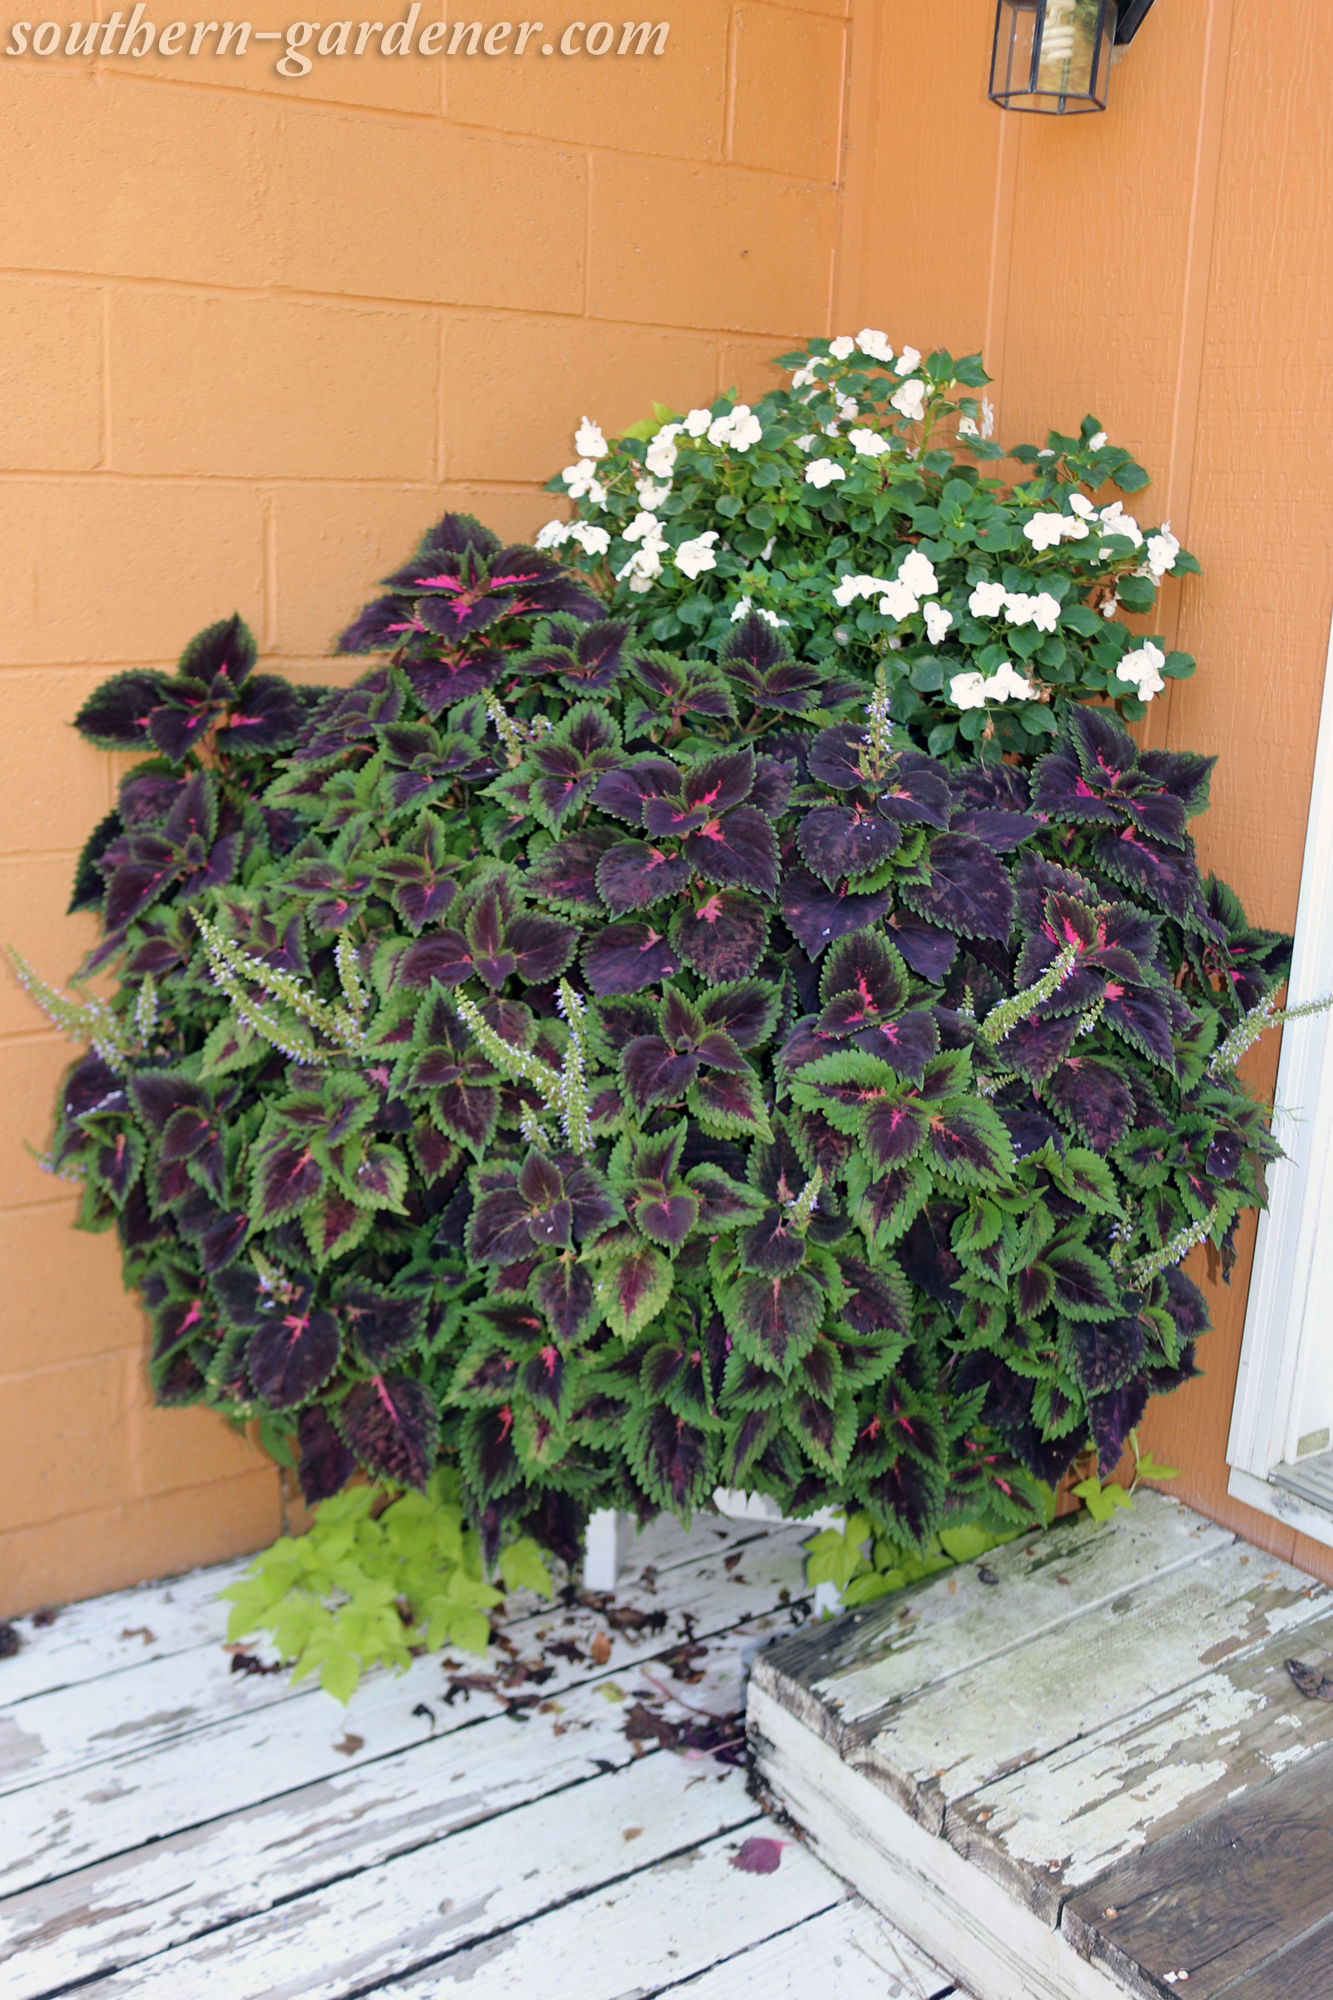
Below are some pictures from the first year of use. Green (top) tier: fuchsia; Blue tier: petunias and impatiens; Yellow tier: 2 varieties of sweet potato vine and dracaenas. Red tier: asparagus ferns, petunias, and ONE coleus plant. I’m terrible about planting too close because of my impatience with things filling in the spaces. And I had no idea that one coleus plant would get so ginormous! 😮 Within 4 months time, you can’t even tell there’s a 2nd or 3rd tier! 😐
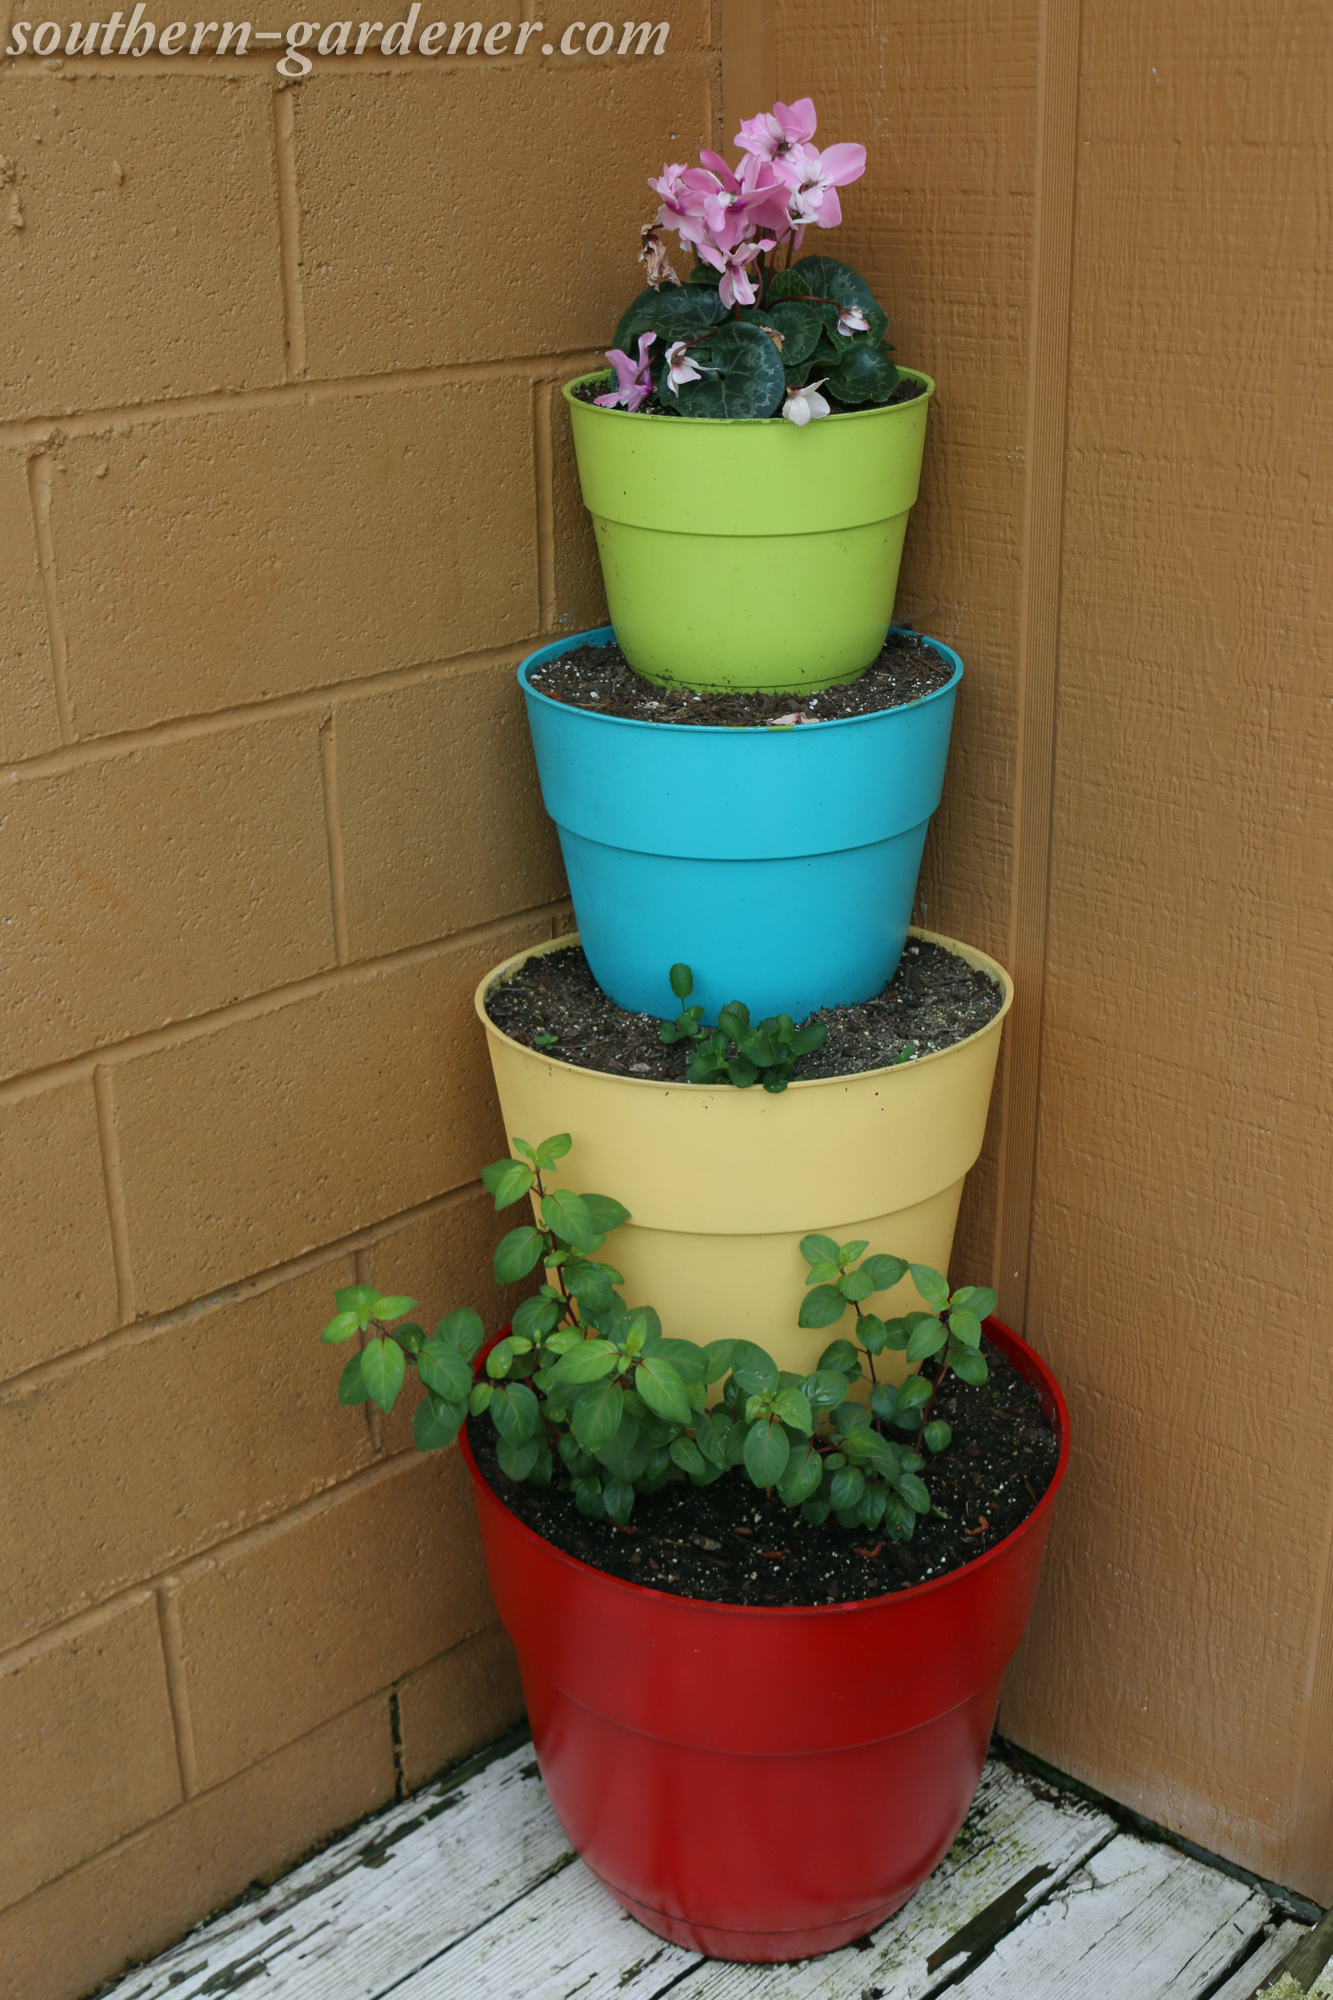
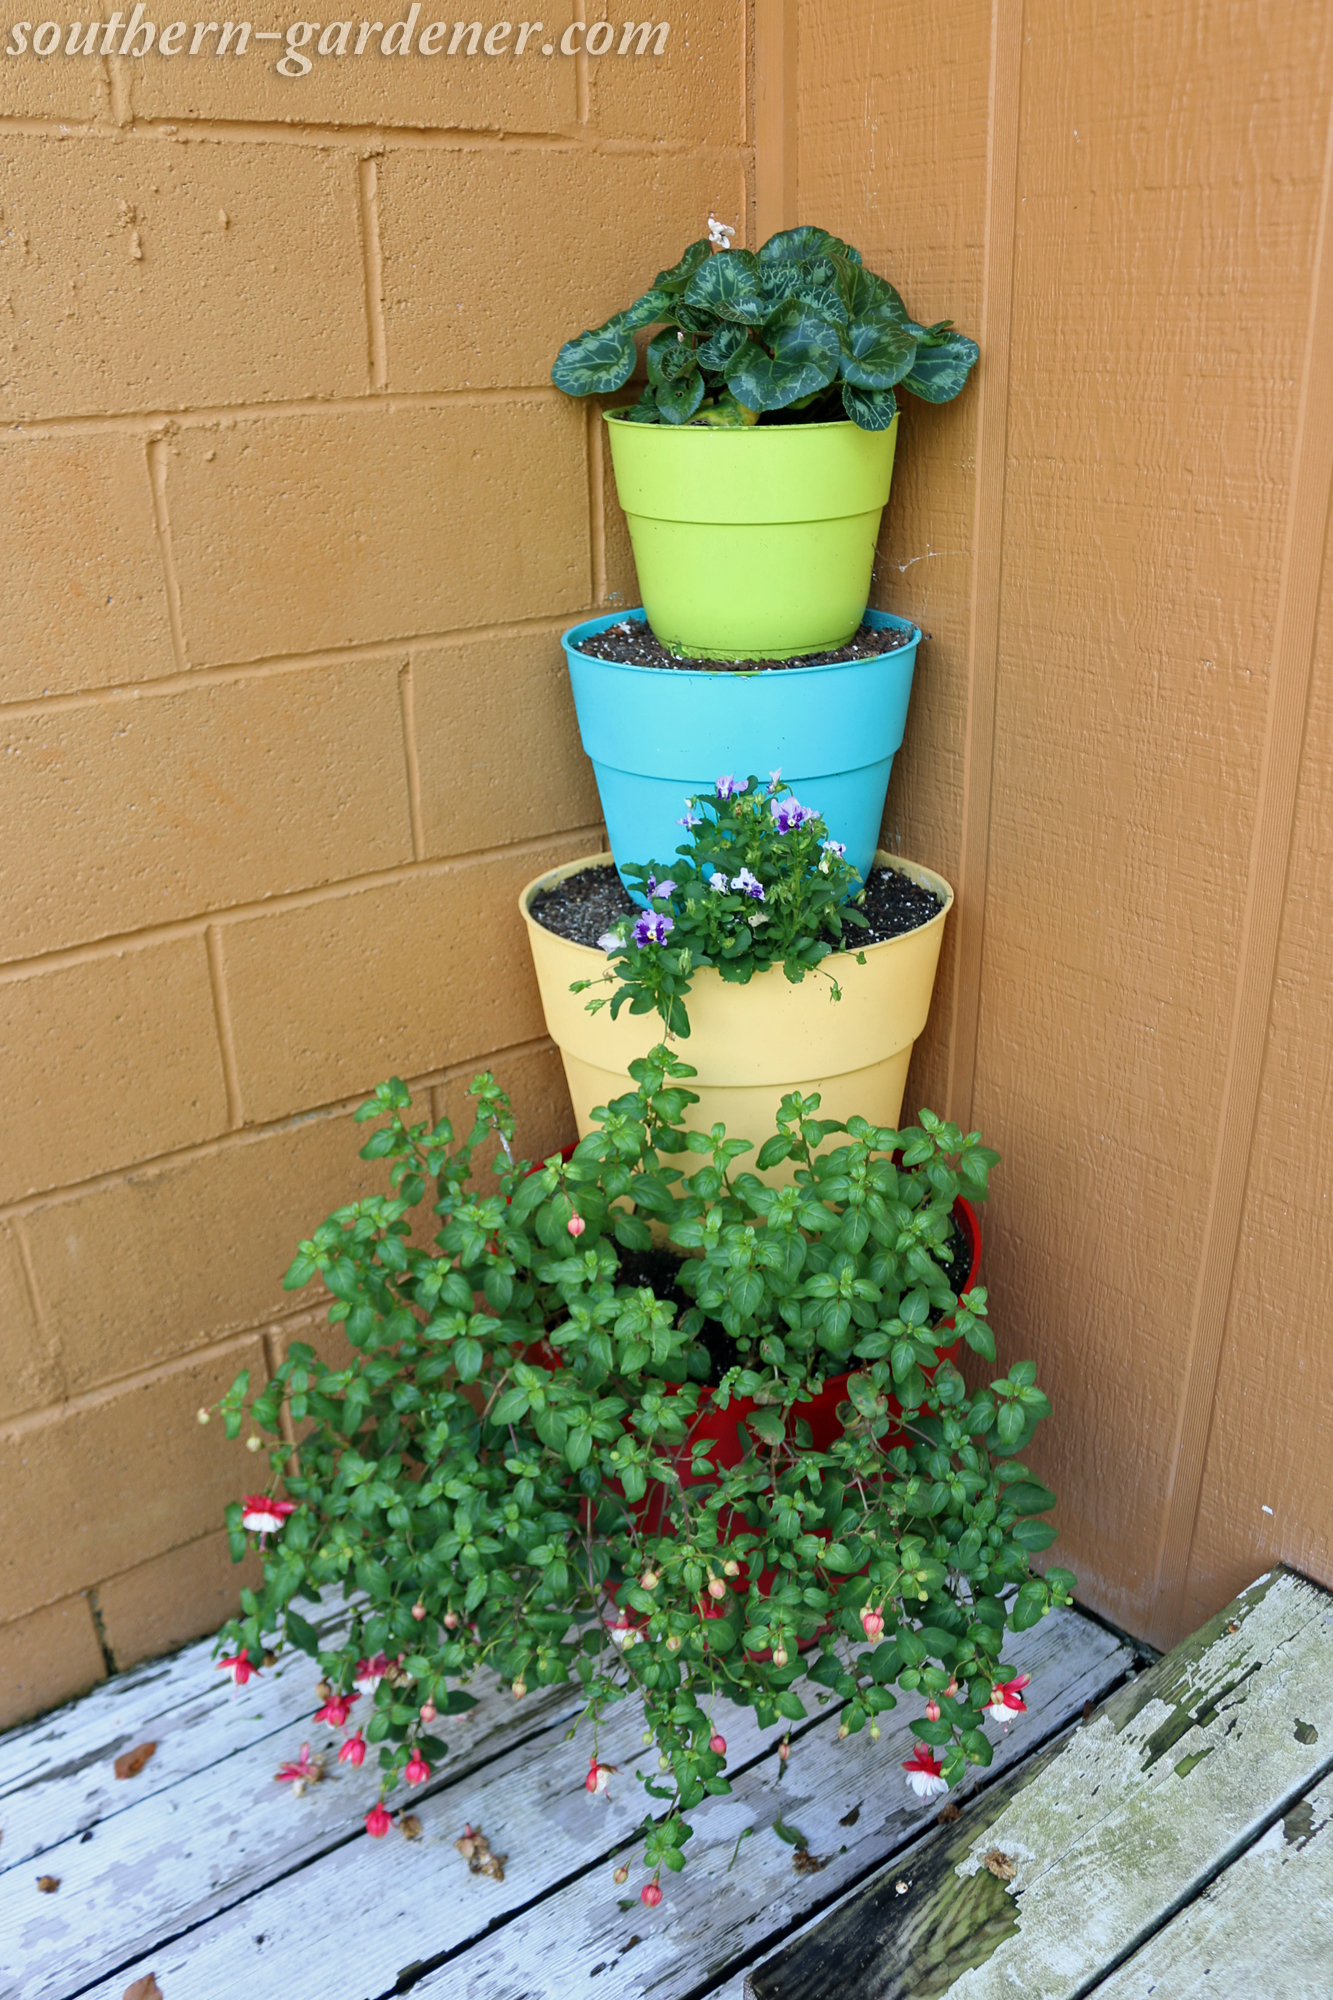
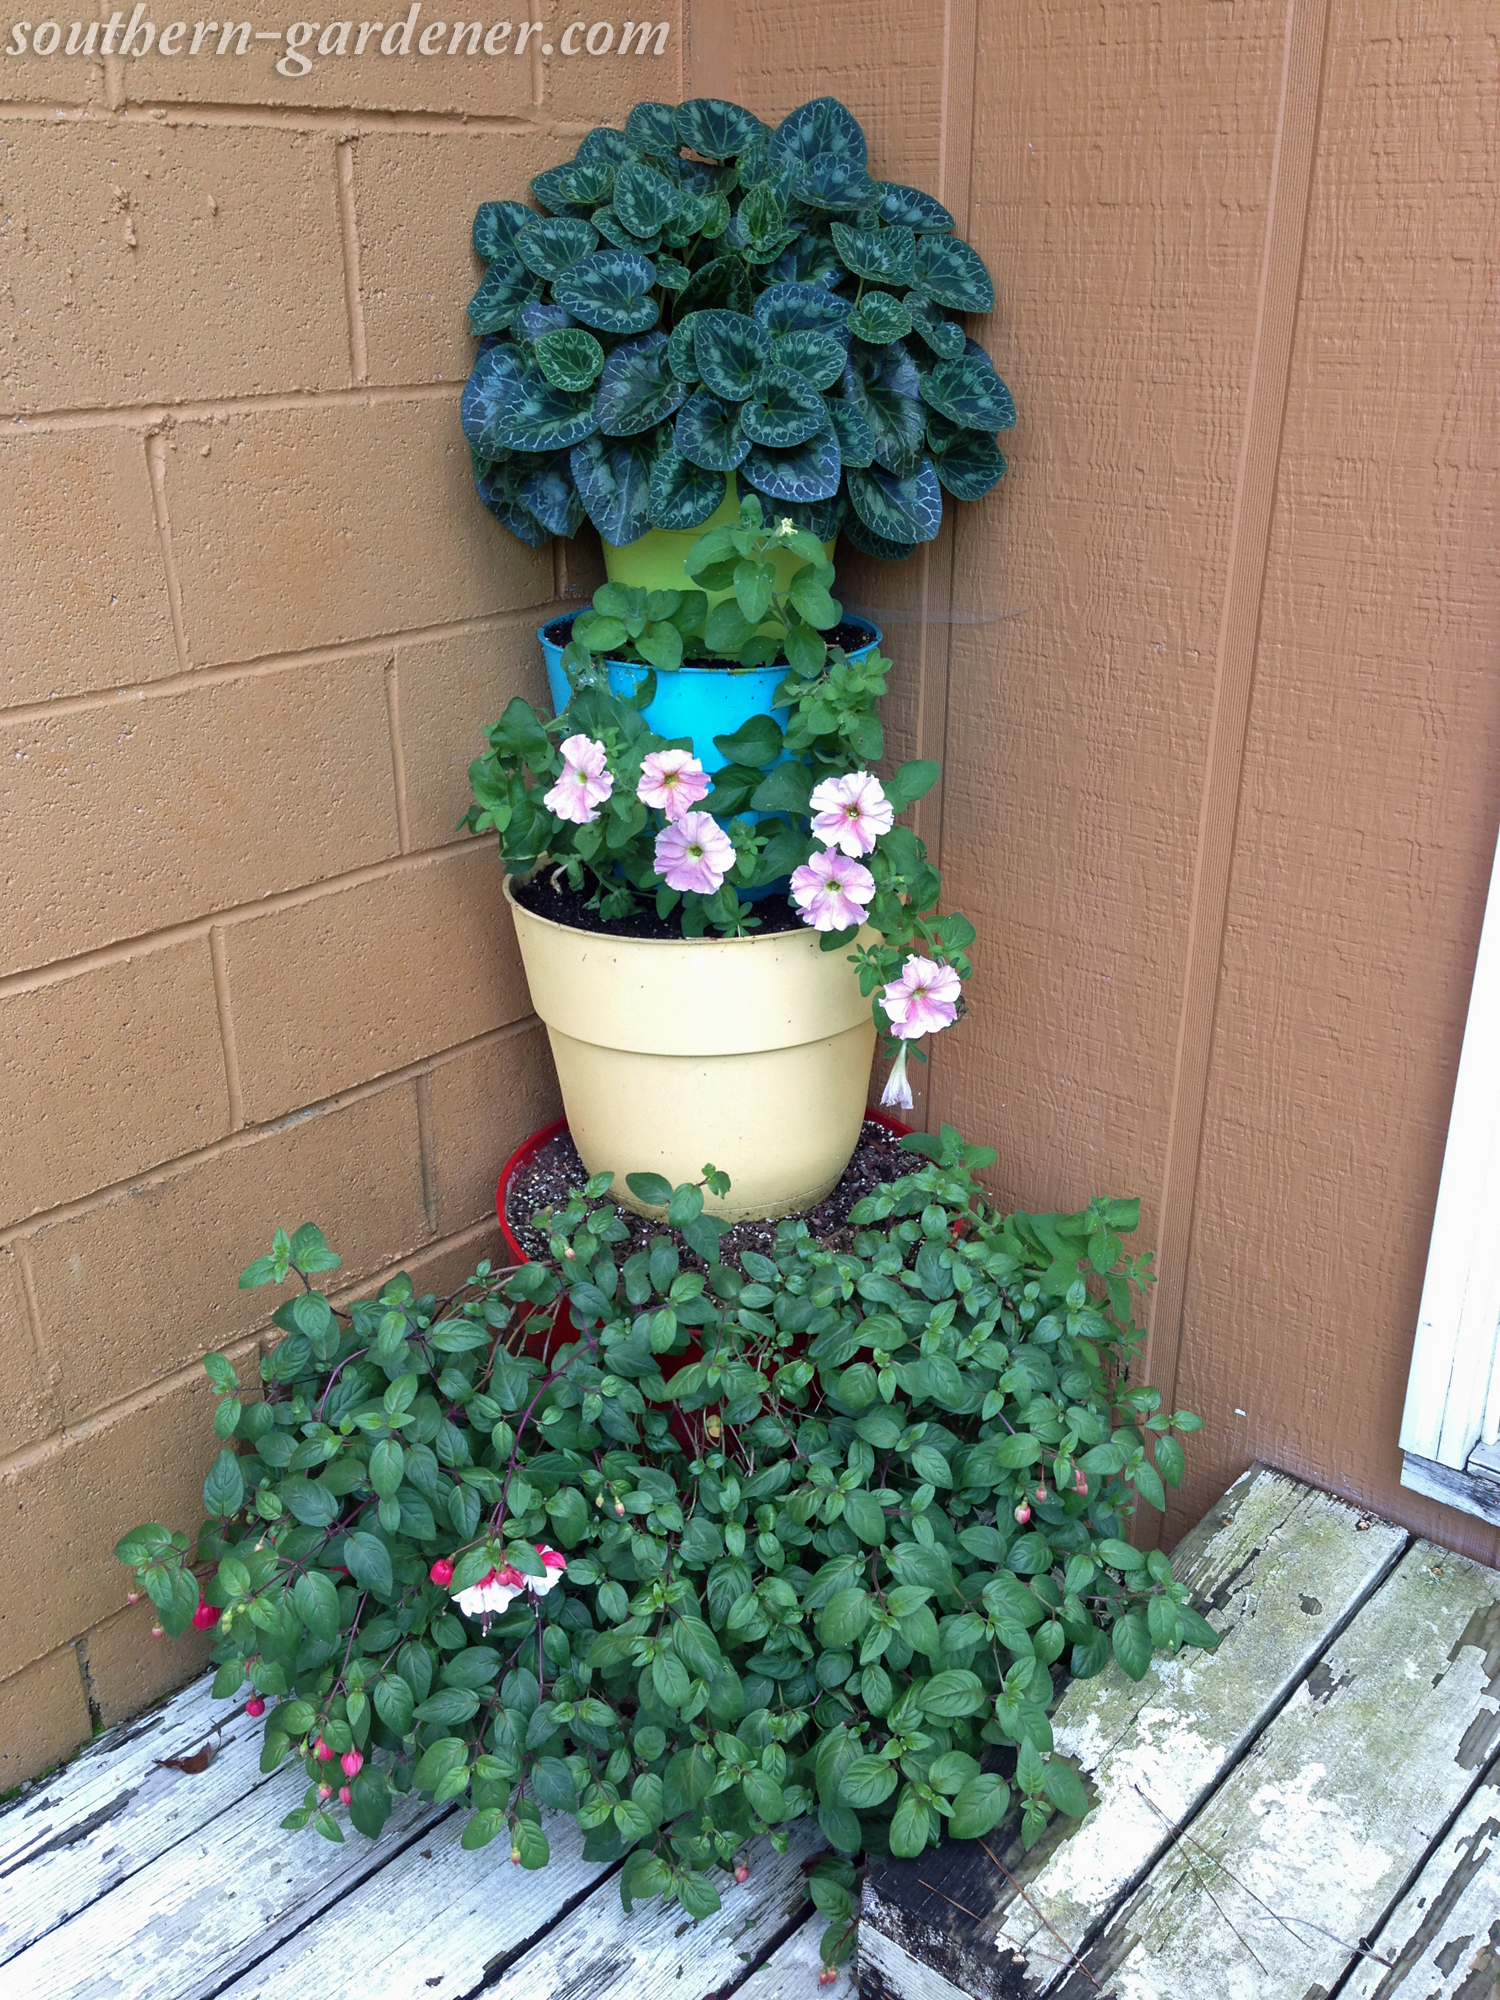
Last year wasn’t quite as extravagant. Green tier: pink cyclamen; Blue tier: eventually planted trailing petunias; Yellow tier: volunteer viola, but pulled out & left empty for summer; Red tier: Swingtime fuchsia. This is another thing I would do differently. I picked trailing varieties for upper tiers, and if things were planted below, they would cover those flowers. That’s why I left the yellow tier empty last summer. If I were doing it again, I would definitely stick to trailing flowers on the bottom (red) tier, and use low-growing, non-trailing flowers for the yellow and blue tiers. The green one could have a taller, upright flower in it.

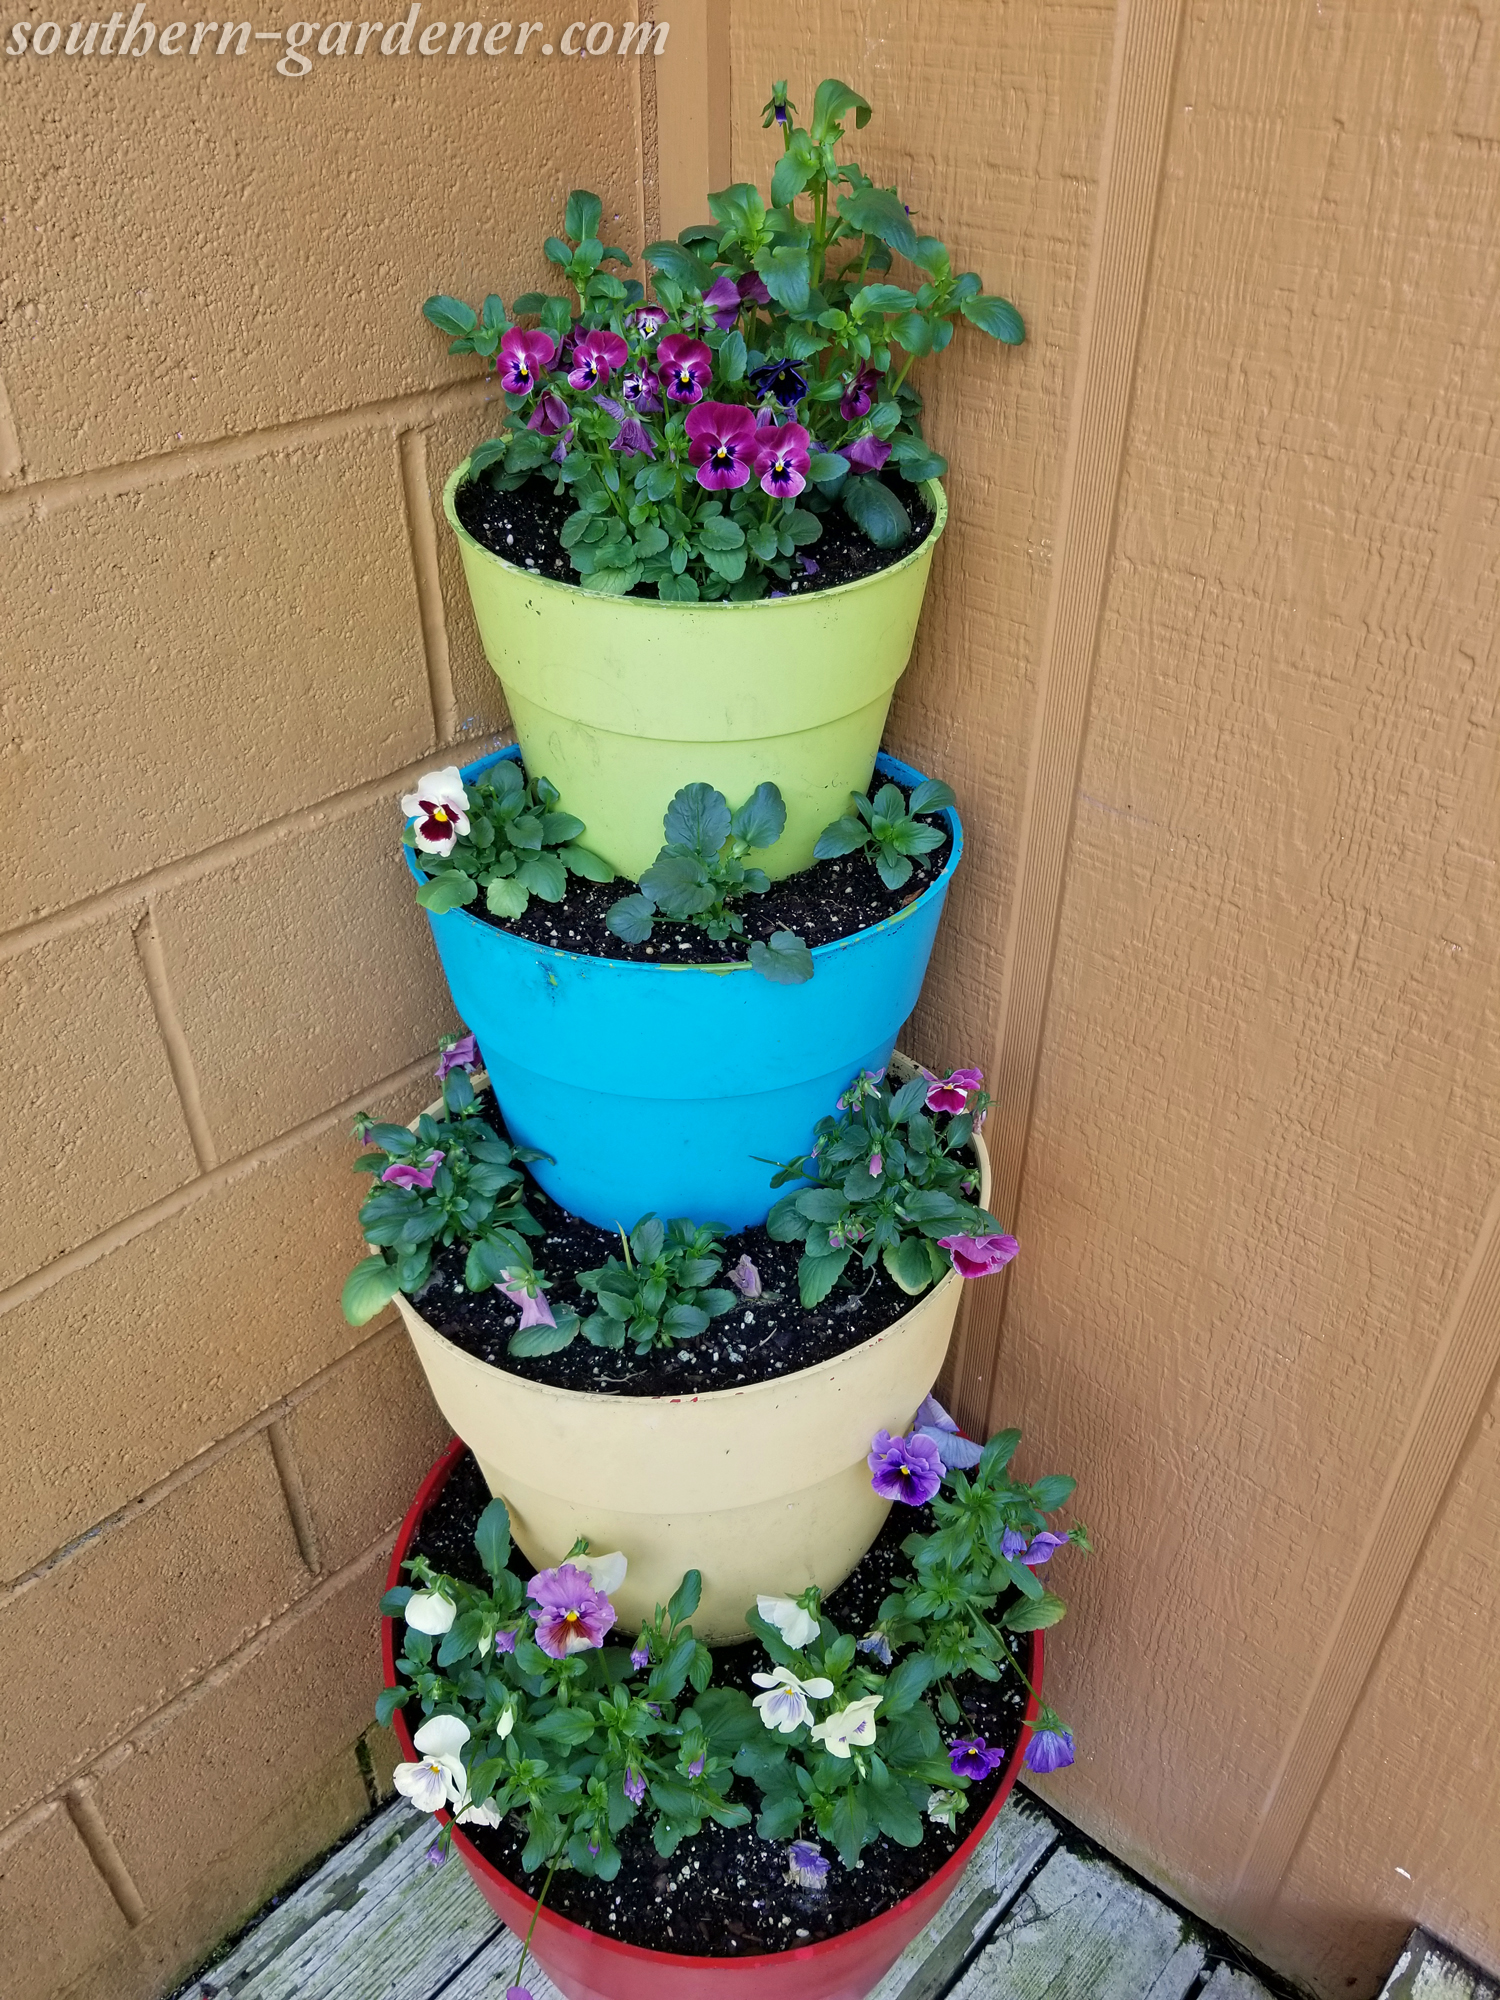
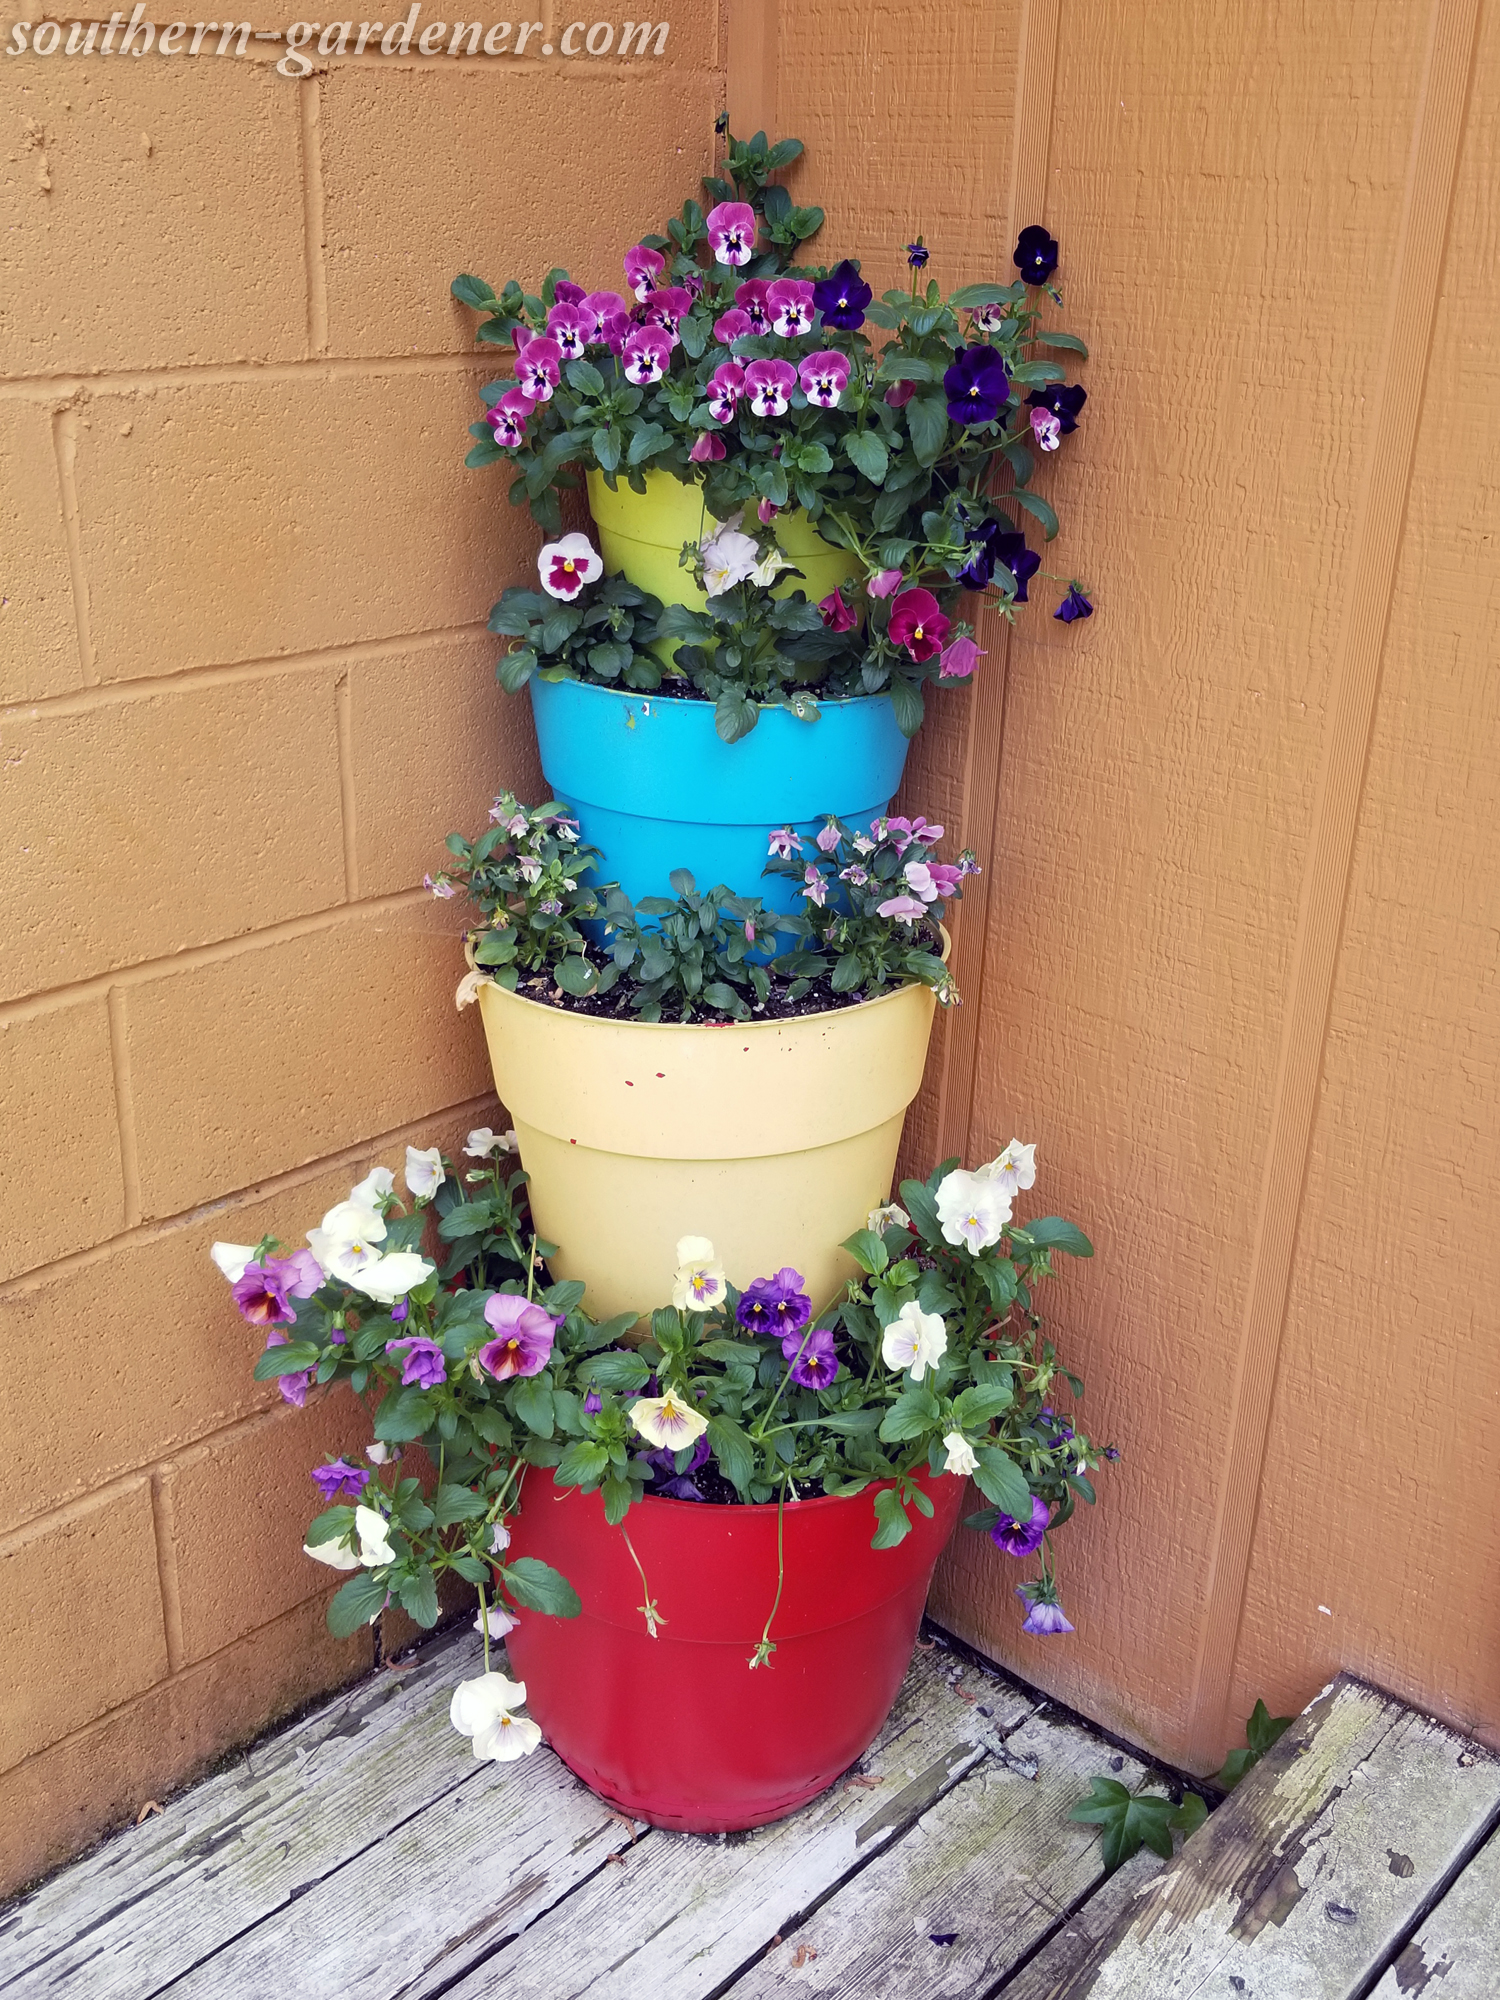
Earlier this year at the end of winter and beginning of spring, I had a lot of pansies and violas left over that I’d started from seeds, so I planted them in my tiered planter. First, I’d like to point out the chipping paint.
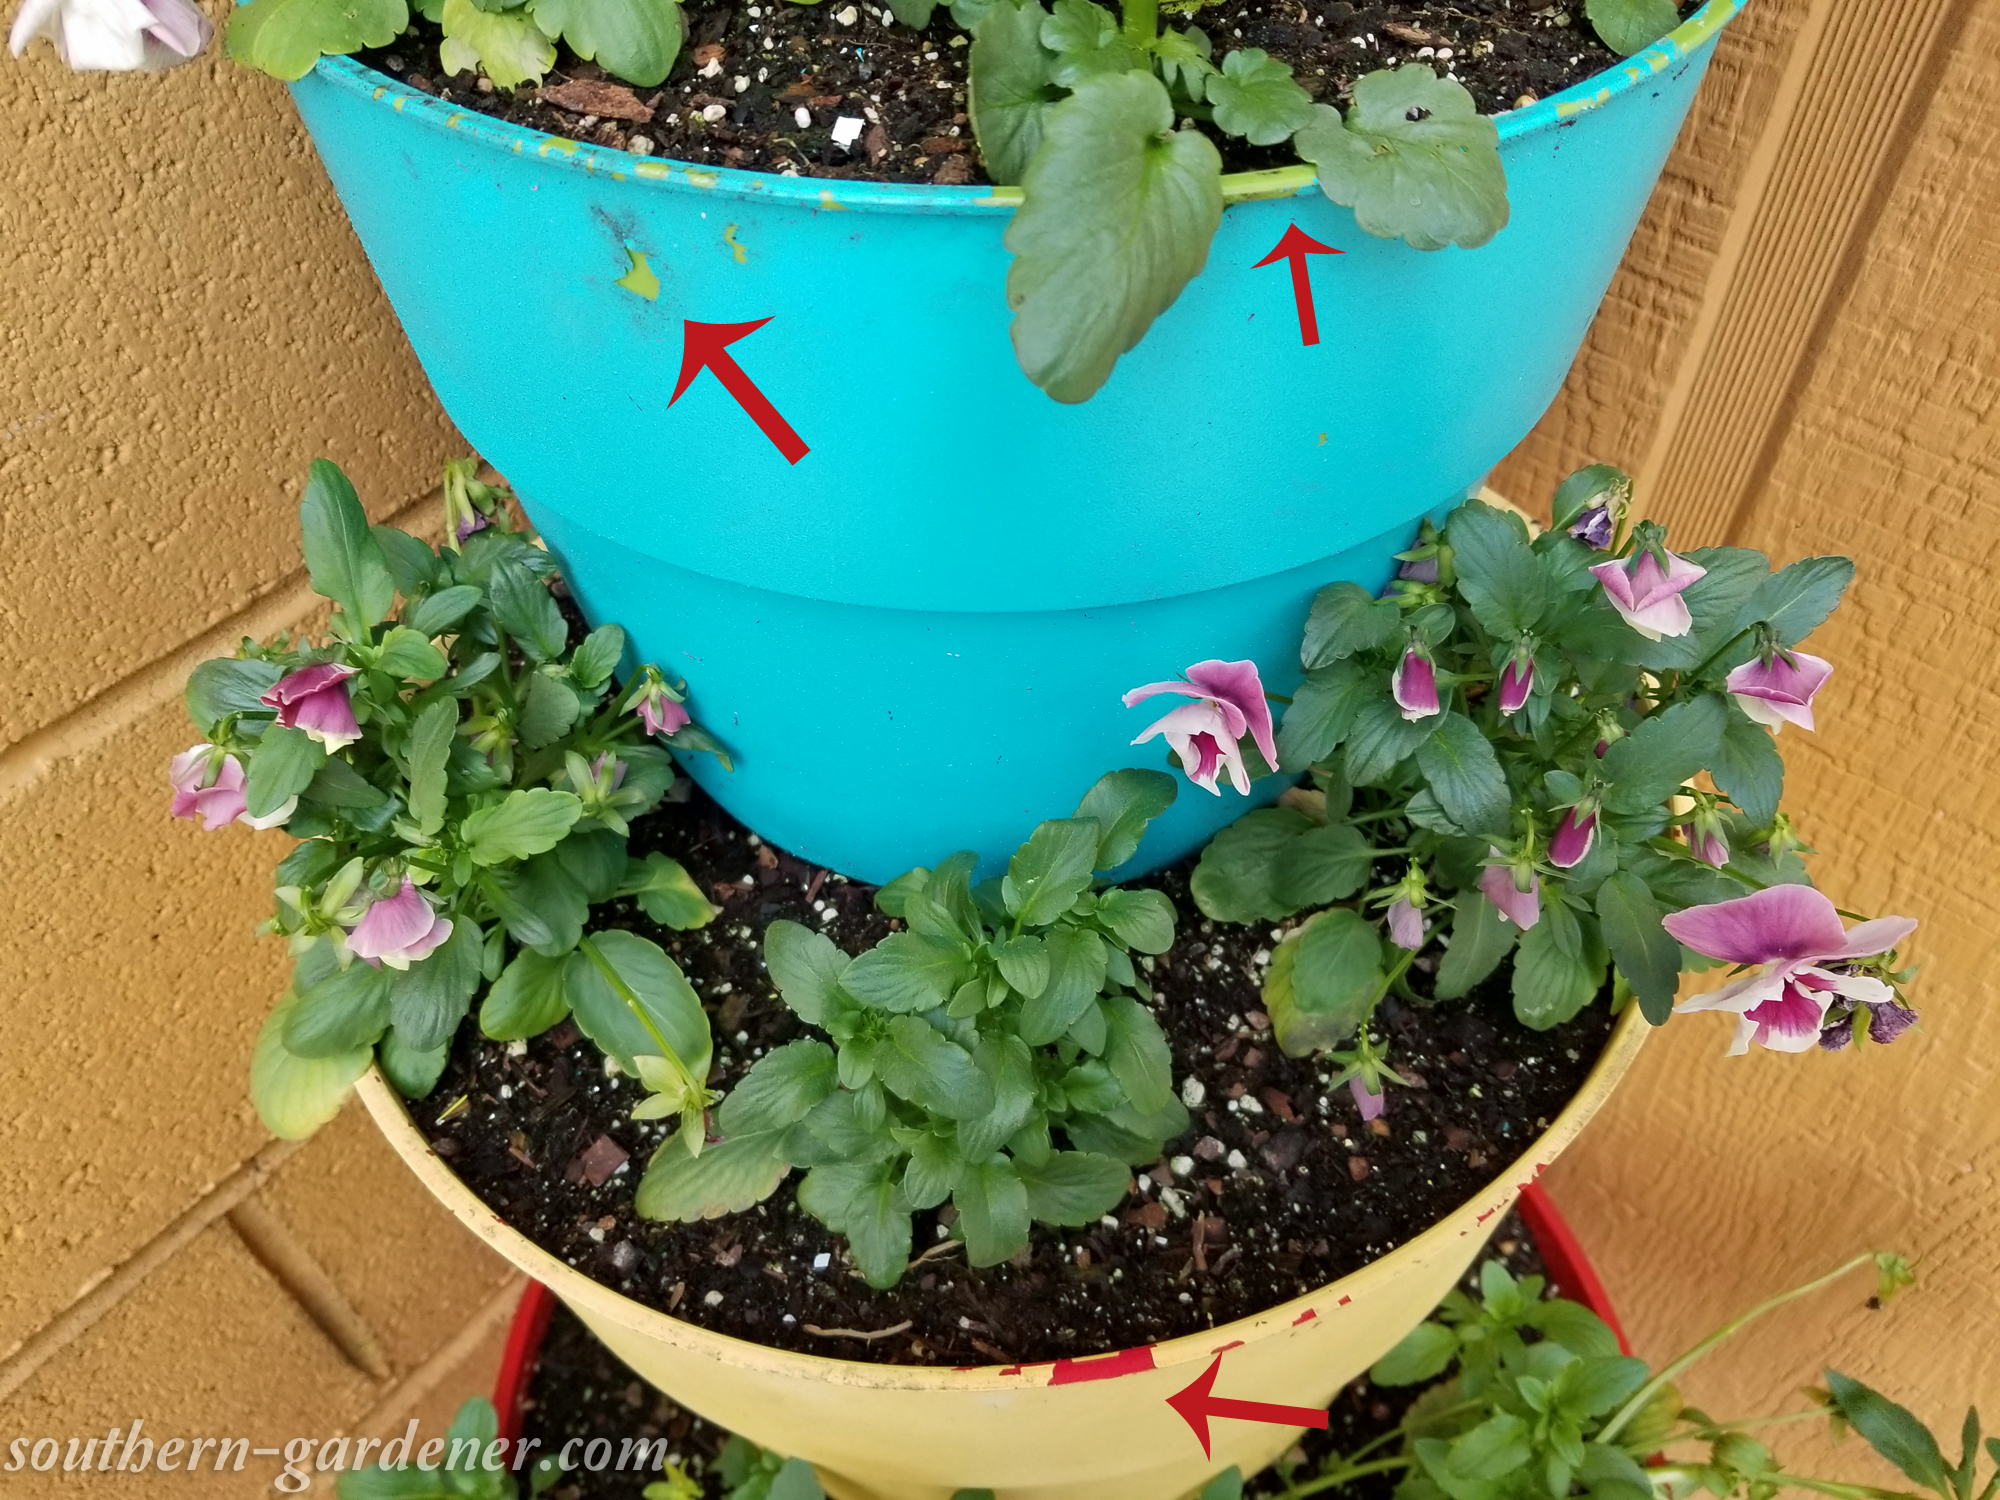
I wish I’d used the spar urethane to seal it. It was much more obvious this year, and I honestly didn’t want to touch up the planter and re-do it. I already had another project in mind to take its place, so I eventually wound up giving the tiered planter to a friend of mine. Here are a couple of pictures of the planter with pansies and violas from this spring.
And there you have it! The main things I would do differently would be to use spar urethane to seal it and to pick flower varieties that do not trail for the top 3 tiers. What have you used to make a tiered planter?